
Easy Homemade Dill Pickles

- By Olga Nagorna
- Updated
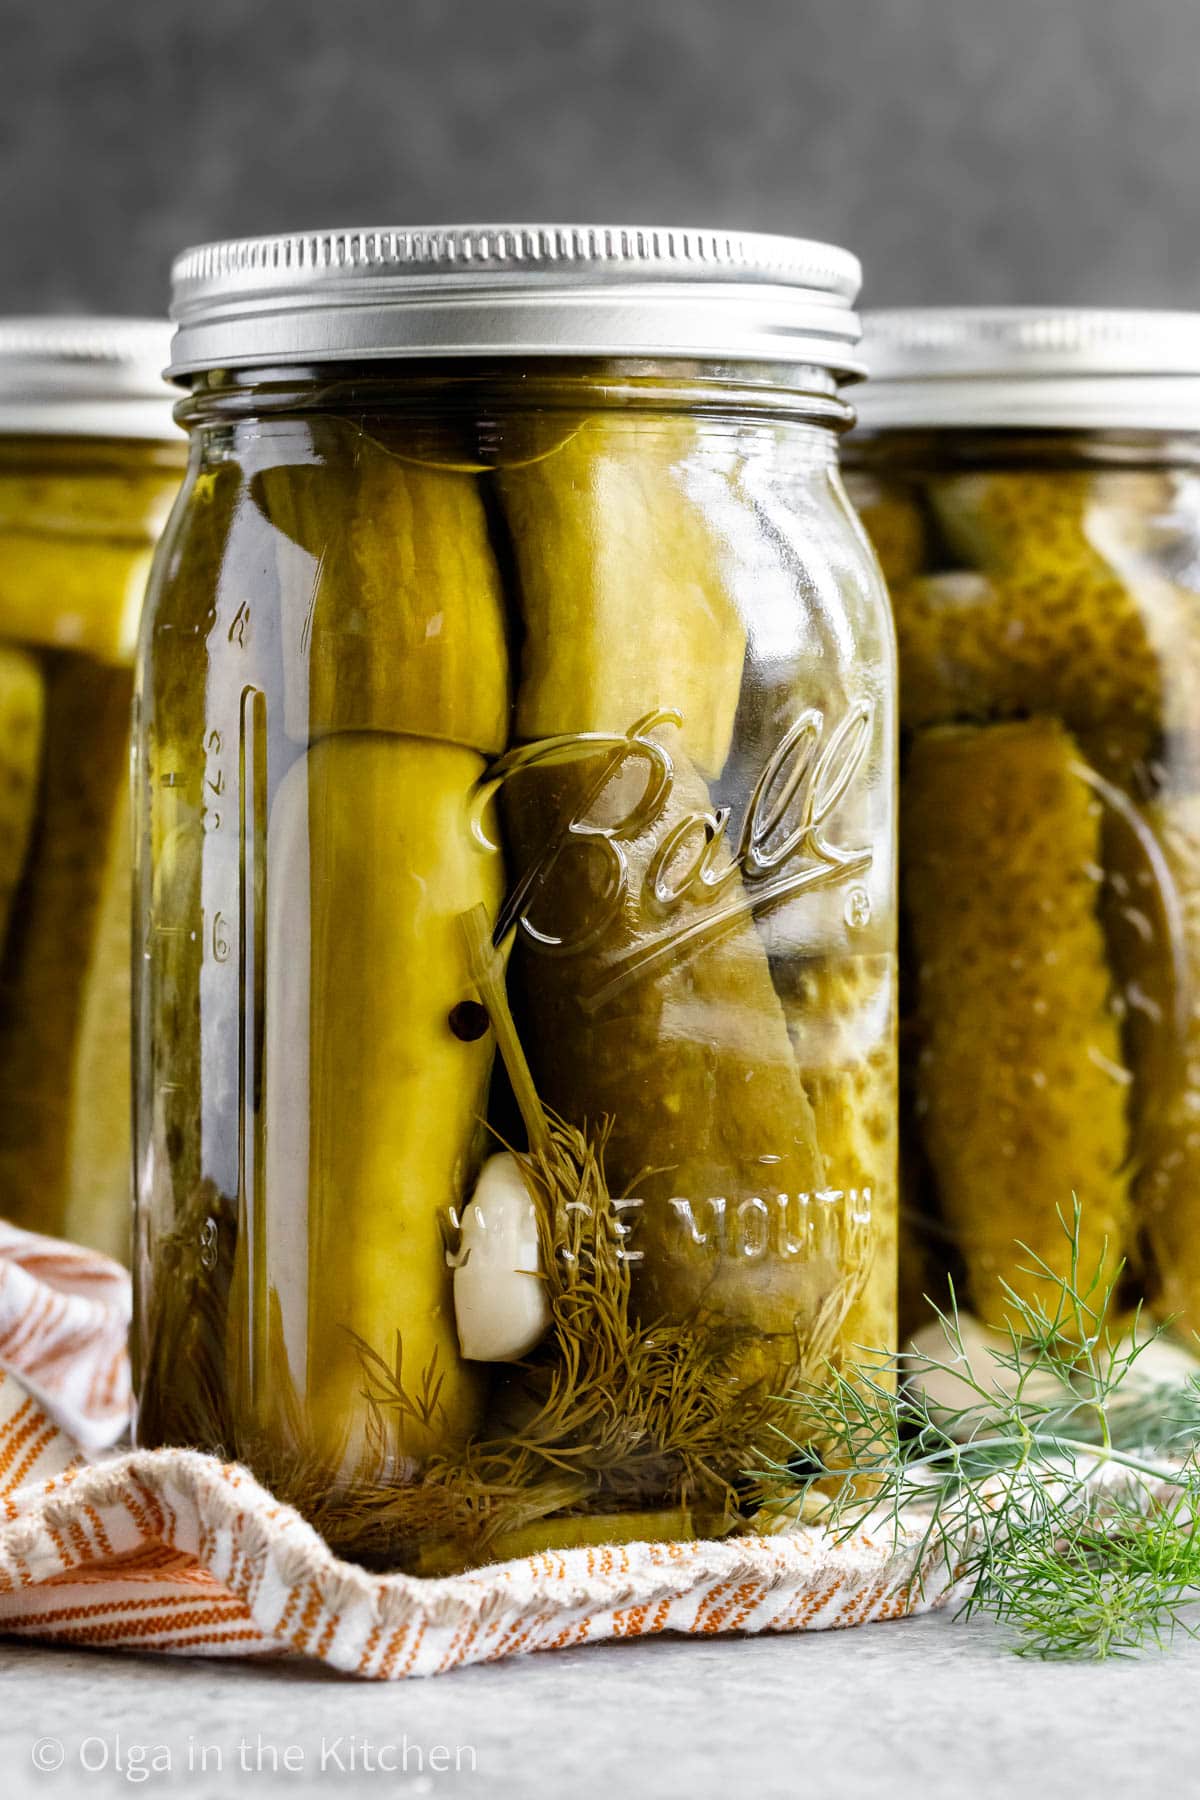
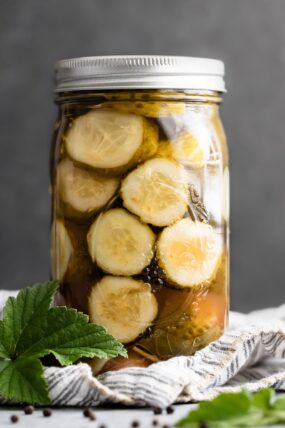
These easy homemade dill pickles are perfectly crisp, tangy and refreshing. They are seasoned with just the right amount of dill and garlic. Whether you’ll serve them with hot dogs, hamburgers or simply enjoy as a snack, they will be good for up to a year in your pantry. For a sweeter version, try these sweet and spicy pickles.
This post may contain affiliate links. Read my disclosure policy.
Dill Pickles Recipe
This recipe is for making shelf stable pickles, meaning they can be stored in your pantry, sealed for up to a year. Our aunt Sveta shared this recipe with us this summer and mentioned how everyone who ate them, really enjoyed every bite. They are so easy to make and remind me a lot of the Nalley brand dill wholes pickles I always buy at the grocery store.
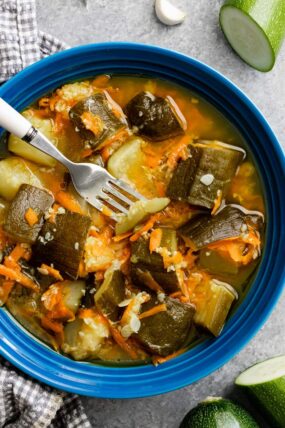
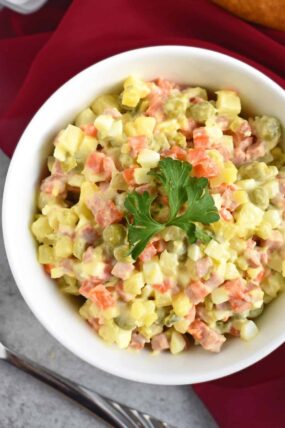
With their tangy flavor and crunchy texture, dill wholes pickles work great in Olivye Salad and Vinaigrette Salad. It also saves you a trip to the store when you’re in need of some tangy pickles to snack on or use as an ingredient in a salad.
Here’s Why You’ll Love These Homemade Pickles
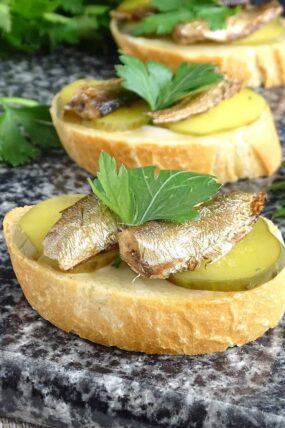
- Flavor: Dill pickles have the perfect balance of salty and tangy with a touch of sweetness. With fresh dill and garlic in addition, all the flavors combined make these pickles some of the very best pickles you will eat. Try putting these pickle chips onto sprats canapes and it will become your next favorite appetizer!
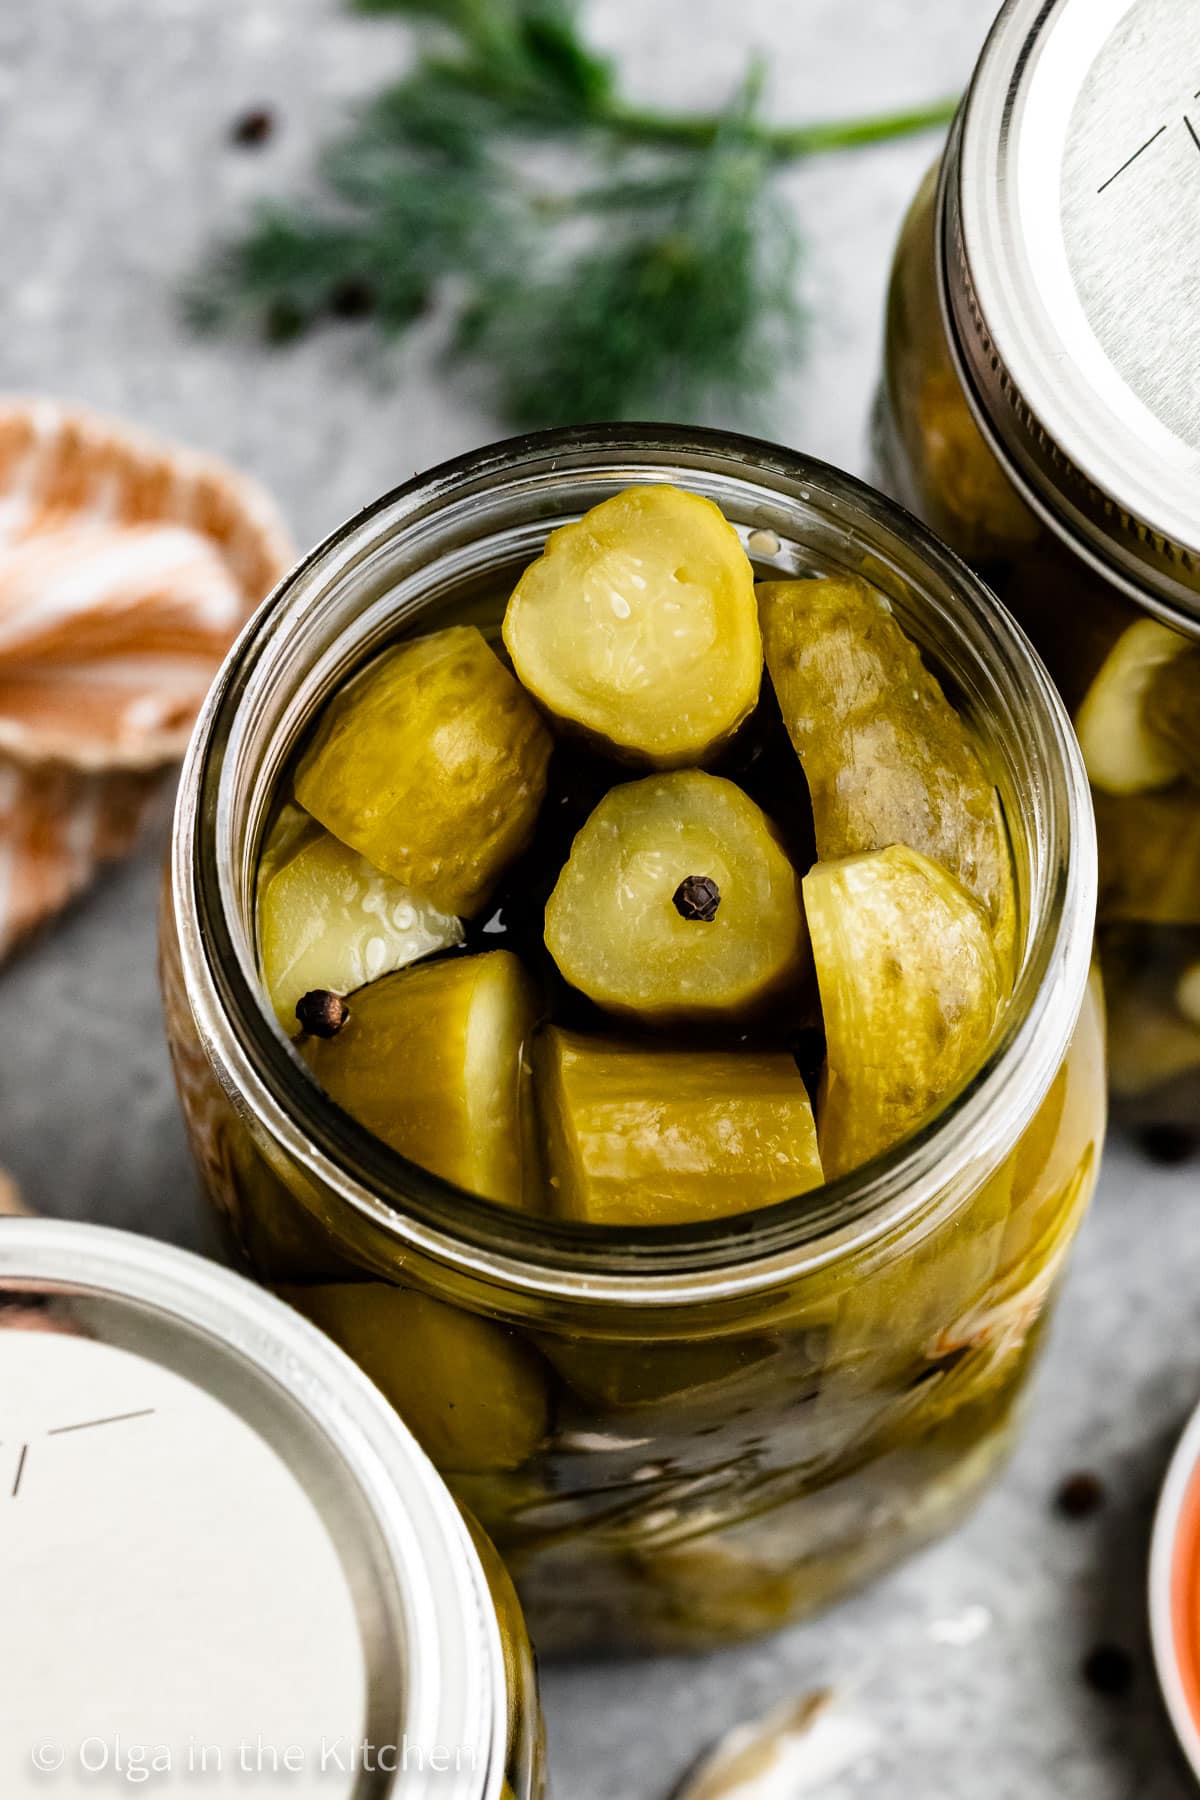
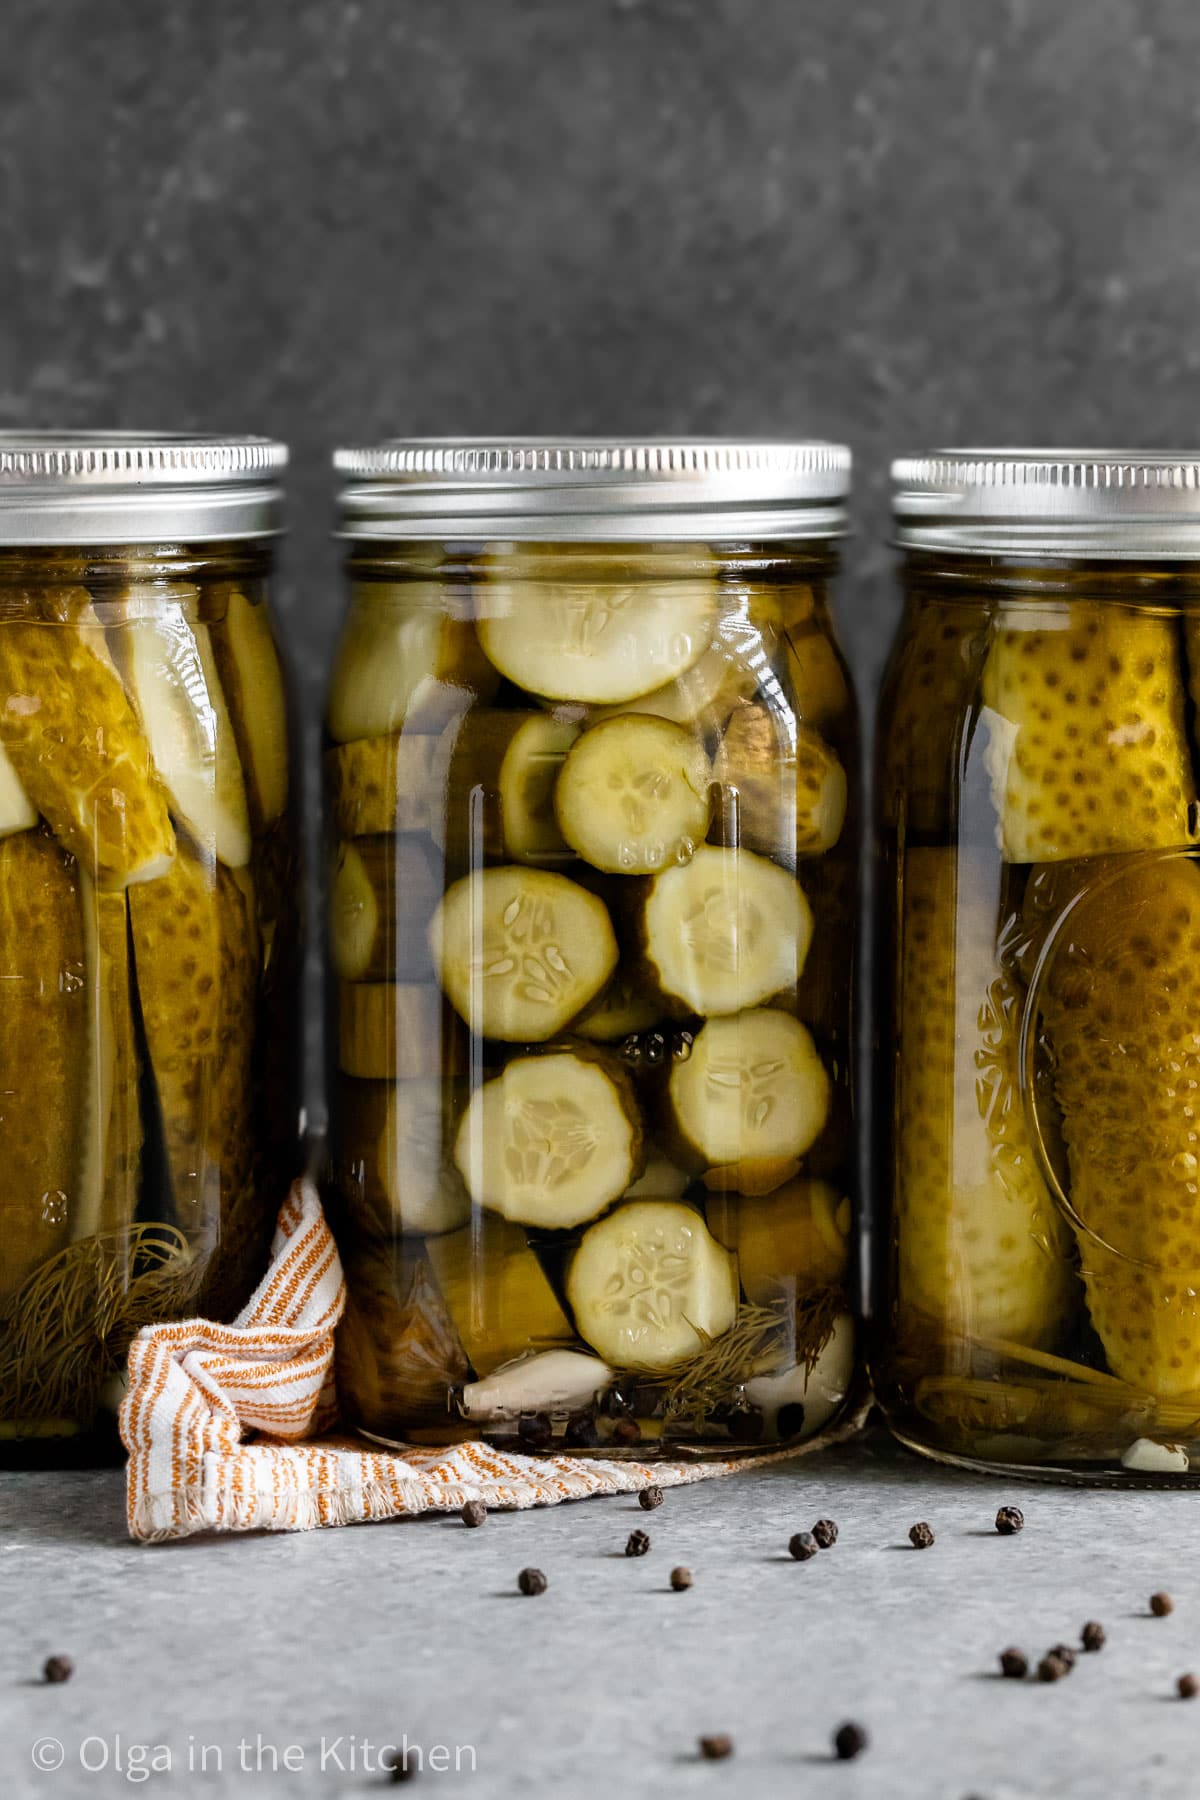
- Texture: Crispy and the same texture as our sweet and spicy pickles. Not over-processing will keep these pickles crisp until ready to eat, whether weeks later or months later. Remember that any size works – wholes, chips or spears. They all turn out amazingly delicious!
- Ease: If you’re new to home canning, it can seem intimidating at first, but this method is very easy, and the recipe below is packed with thorough details so you can be confident in the kitchen. You’ll quickly see how easy it is to preserve your vegetables and make them last in your pantry up to a year.
- Time: Packing jars with cucumbers certainly takes time, but if you ever tasted homemade dill pickles, I think you’ll agree they’re worth it! If you follow this recipe without doubling it, the process shouldn’t take you longer than 2 hours, start to finish. If canning whole cucumbers, it will be even faster. Chips and spears take a bit more time to pack into jars to fill those empty spaces.
Grab These 9 Ingredients:
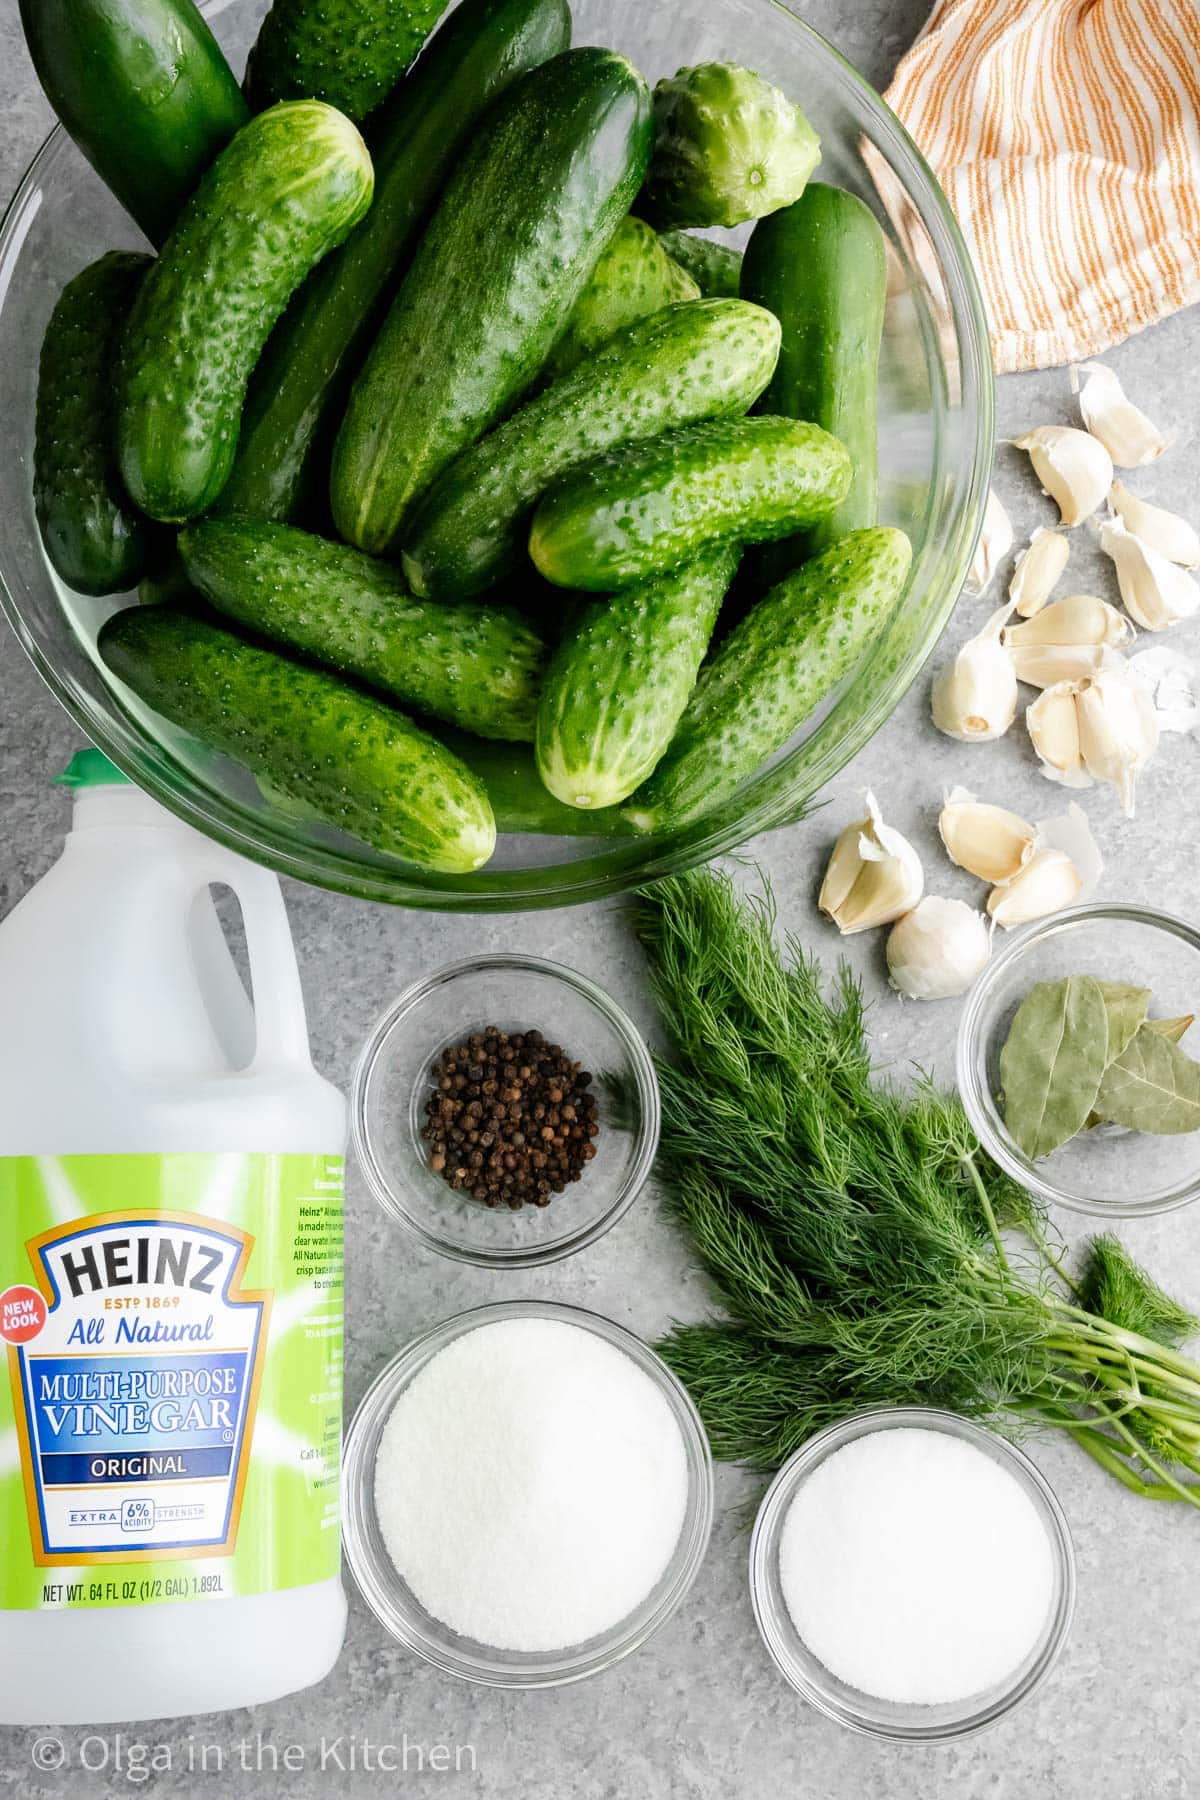
- Cucumbers: Use smaller 4 to 5-inch pickling cucumbers to can as wholes or cut larger cucumbers into chips or spears.
- Water: You need a good amount of water for the brine and more water to fill the pot for processing jars with cucumbers.
- Distilled White Vinegar: A good old-fashioned white vinegar of 5% or 6% acidity works best.
- Granulated Sugar: The sugar doesn’t make the pickles sweet, instead it balances the vinegar and salt to create an irresistible sour dill pickle flavor.
- Fine Salt: Regular fine salt works just as much as pickling salt and it’s the one most or all of you have in your kitchens already.
- Fresh Dill: If you can find dill heads (also called dill umbrella) use it. If not, regular twigs of dill work great. Just snap or bend twigs to fit at the bottom of each jar.
- Fresh Garlic: For extra flavor, add 2 larger garlic cloves per jar.
- Black Peppercorns: Whole peppercorns are best to use in this recipe because they have milder taste compared to ground pepper.
- Bay Leaves: Bay leaves bring extra flavor to the pickles. You will taste a strong bay leaf flavor in the brine at first, but once the cucumbers are canned and rested, it won’t be that strong.
Home Canning Tools Needed:
- 32 oz sized (wide-mouth) Mason jars with rings and new lids
- Large stock pot (20qt+)
- A towel to line at the bottom of the pot (if not using rack)
- Jar lifter to safely transfer the jars
Best Cucumbers to Use
While many recipes suggest pickling cucumbers for making homemade dill pickles, I say all work because I’ve experienced it. It doesn’t matter what cut of cucumbers you make, it’s a matter of preference.
Just keep in mind, that larger cuts like whole pickles or spears will hold up better over time if you’re planning to keep these for up to a year.
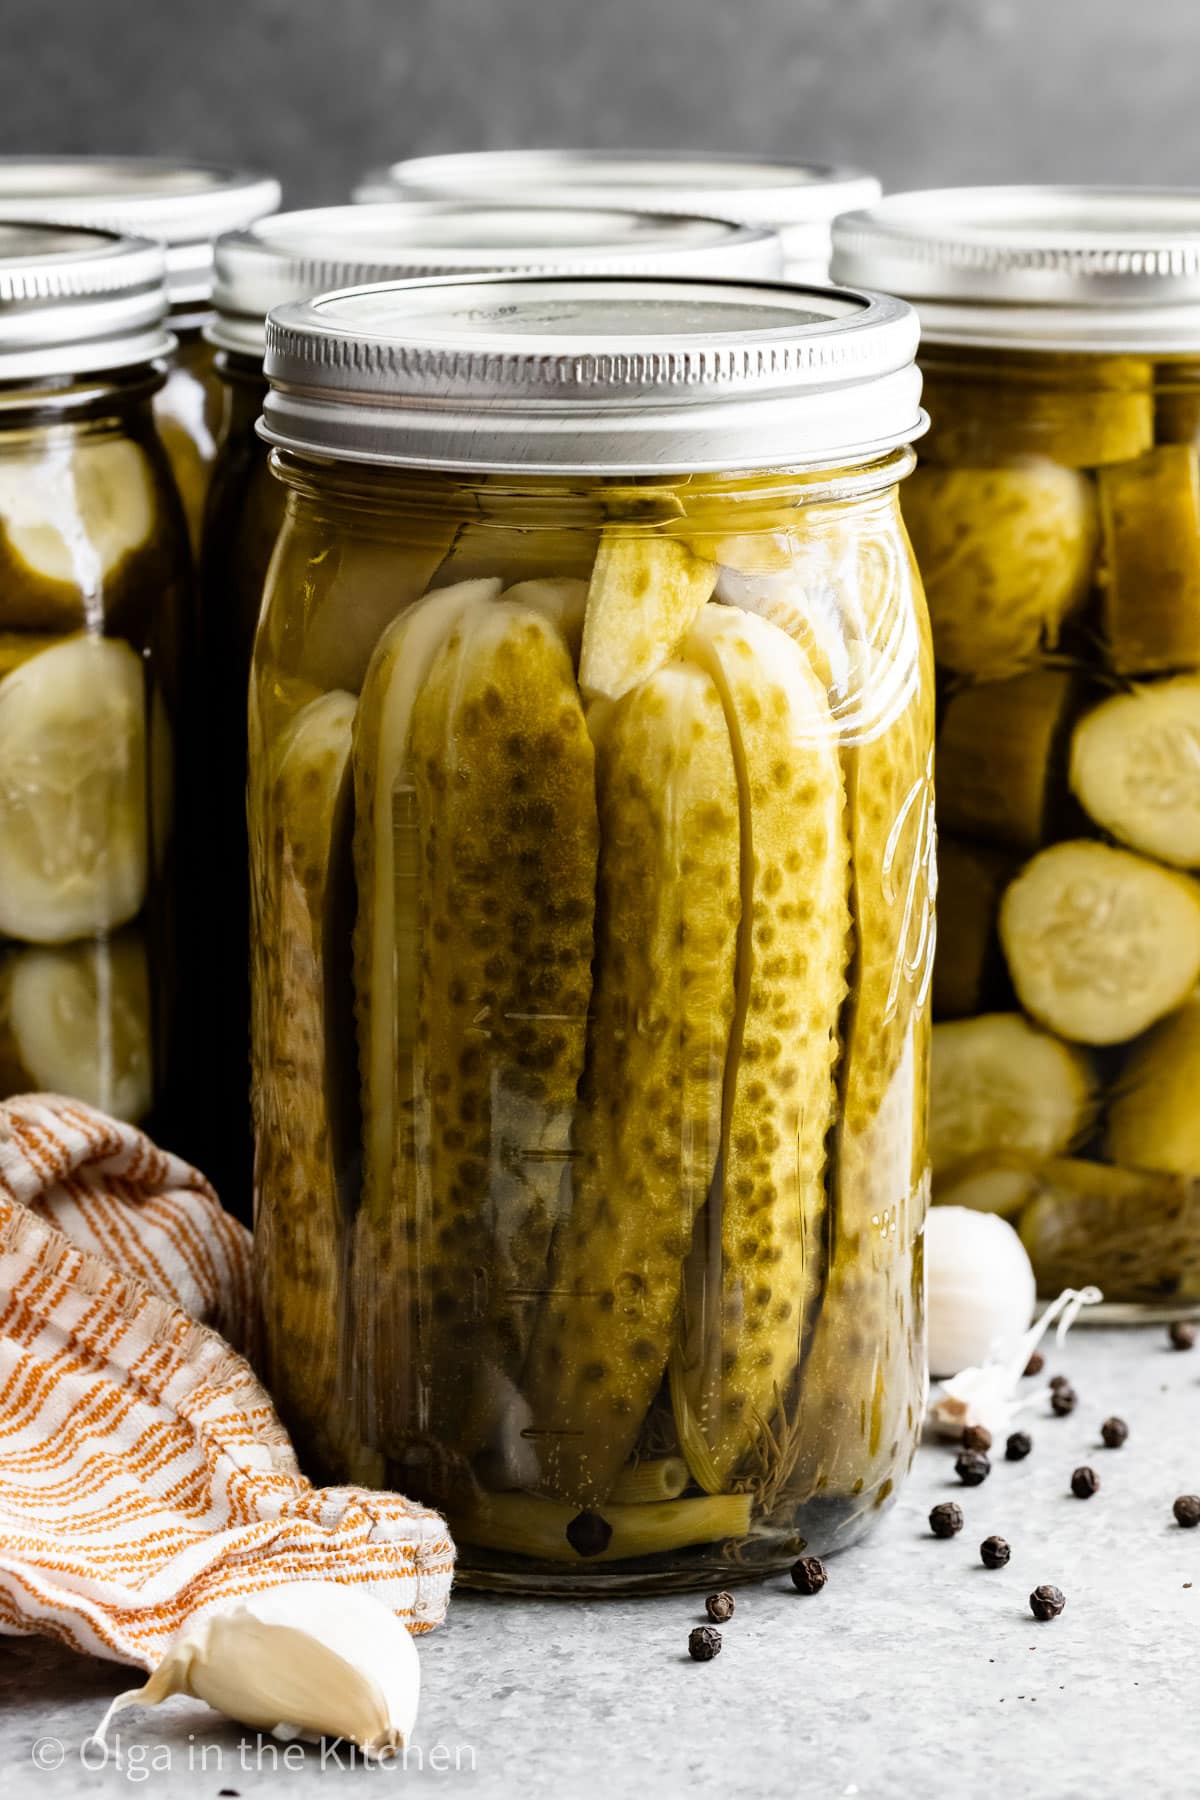
Overview: How to Make Dill Pickles
- Sterilize Jars: Wash all jars and lids with warm soapy water. Sterilize the lids fully submerged in water for 4-5 minutes after the water starts boiling; carefully paper towel pat dry lids. Preheat the oven to a 215°F and place jars upside down onto oven racks. Dry jars for 20 minutes or until completely dry.
- Make Pickling Brine: In a large pot, combine and stir water, vinegar, sugar, salt and toss in 5 bay leaves. Bring to a boil, remove from heat making sure salt and sugar are dissolved.
- Fill Jars: Wash and cut off both ends of the cucumbers. Fill the bottom of each jar with couple twigs of fresh dill, garlic cloves and black peppercorns. Tightly pack jars with cucumbers. Slowly pour the pickling brine into jars over cucumbers, up to the rim (leaving 1/2-inch of space at the top), and cover with lids, but do not close.
- Process the Jars: Place packed jars into the canning pot lined with a towel or rack and fill with water, about 2 inches below the top of the jars. Bring to a boil over medium-high heat, then reduce heat to low and process jars for about 15 minutes or until cucumbers turn light green.
- Seal the Jars: Remove the jars from the water, close lids tightly and flip jars upside down. Cover jars with bath towels or blankets. Allow them to sit at room temperature undisturbed for 12-24 hours. Store pickles in a cool place for up to a year.
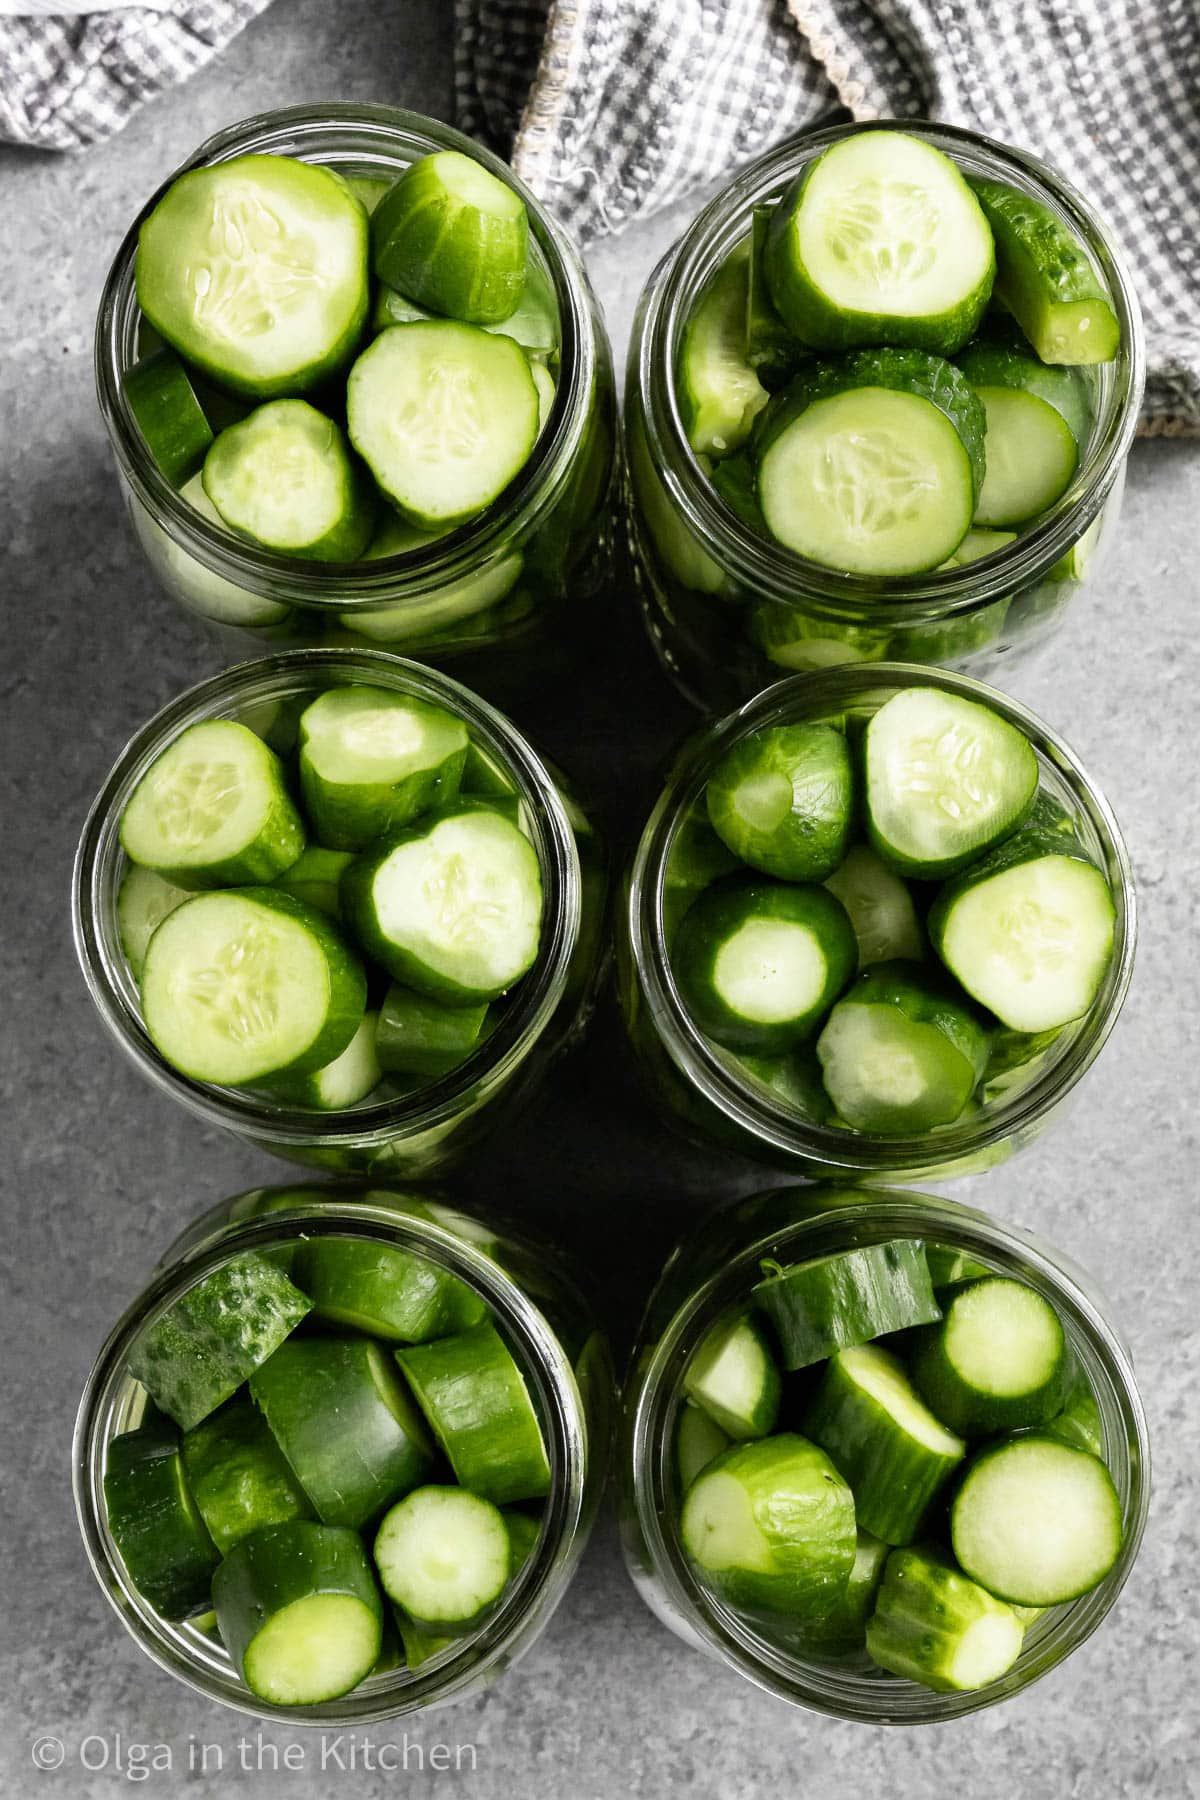
Signs of Spoiled Canned Pickles
With any type of food canning, when in doubt – throw it away. Discard canned food If you notice any of the following:
- The jar is leaking or bulging
- The jar looks cracked, damaged or unusual
- The jar spurts liquid or foam upon opening
- Canned food is discolored, slimy, smells bad or moldy
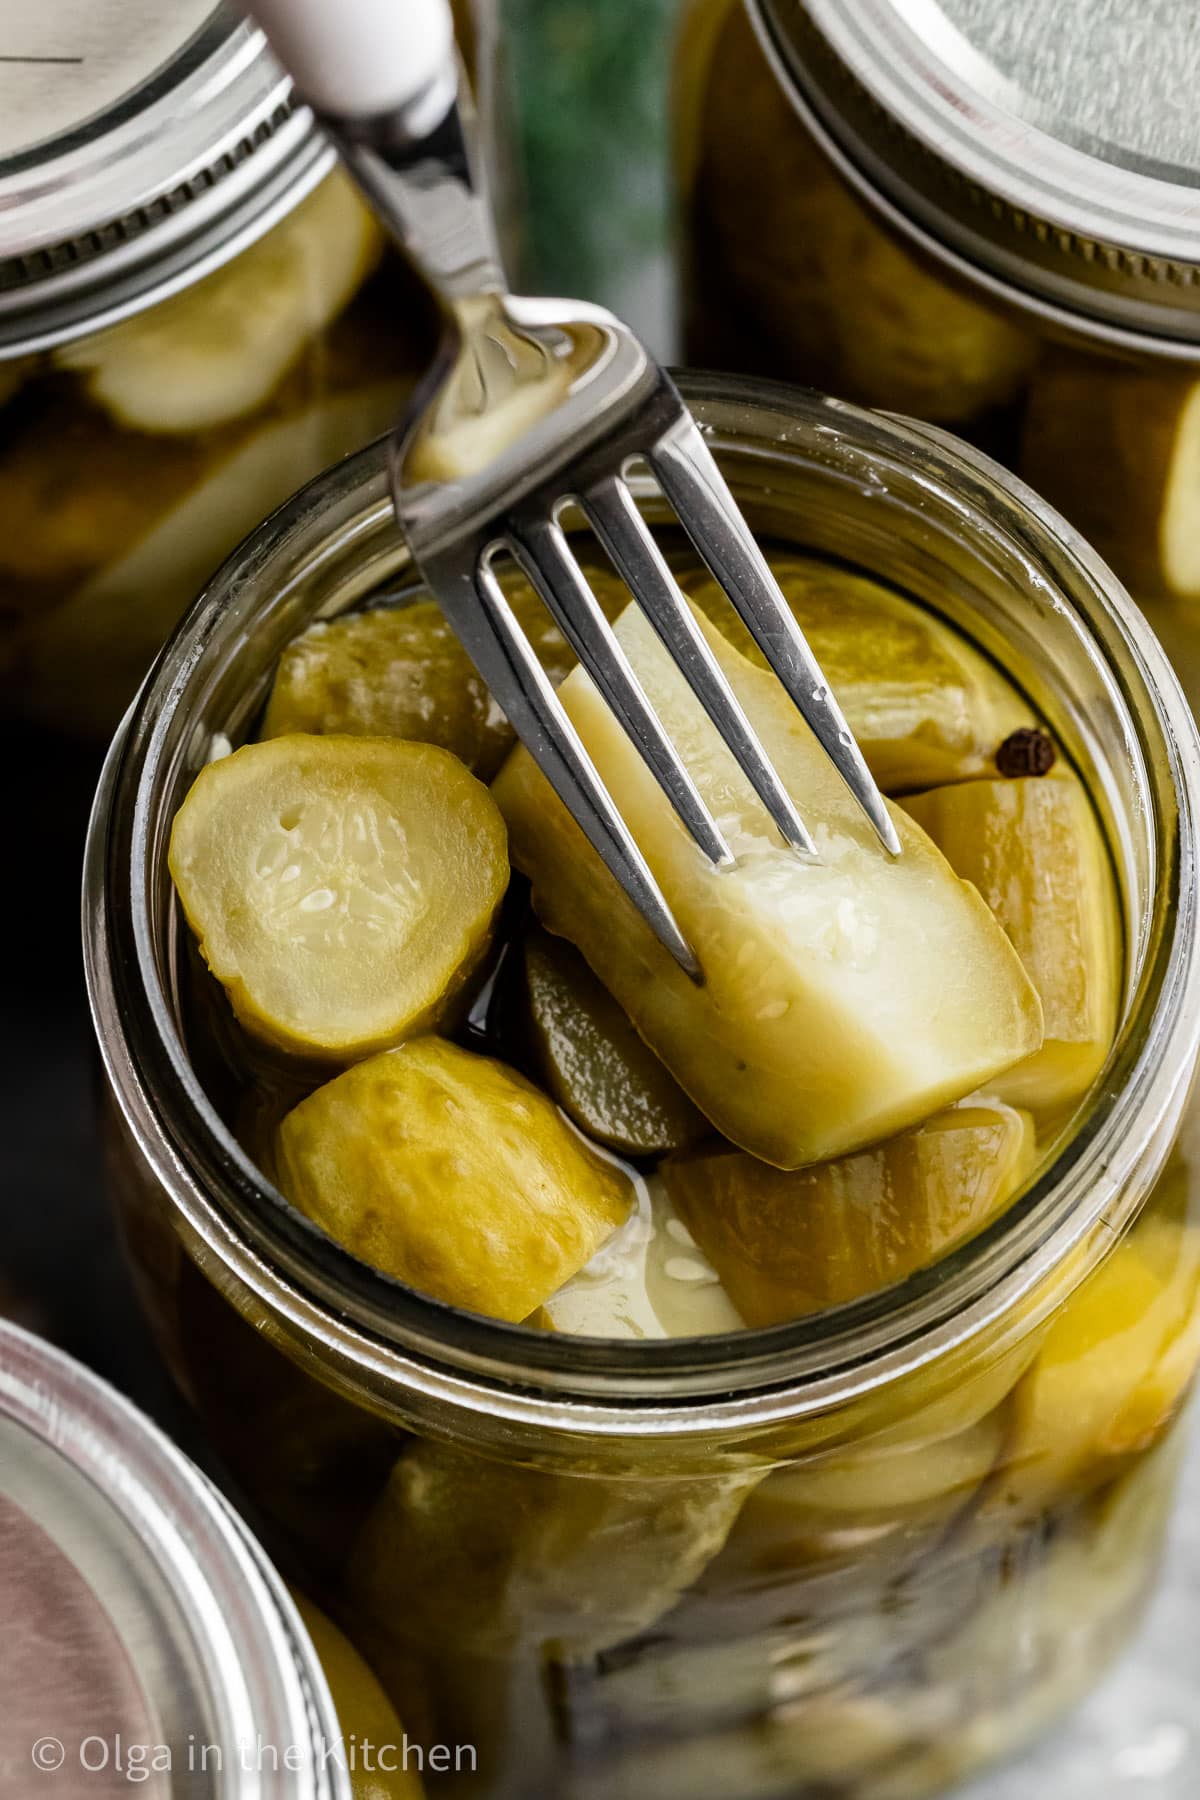
More Garden Vegetables Salads You’ll Love:
- Pickled Salad Autumn
- Green Cabbage Cucumber Salad
- Quick Tomato Salad
- Creamy Broccoli Cauliflower Salad
- All-Veggie Salad
- Lettuce Radish Salad
Easy Homemade Dill Pickles
Ingredients
- 12 pounds cucumbers* (approximately), well rinsed with ends trimmed
- 1/2 tablespoon peppercorns, (5 per jar)
- 16 garlic cloves (2 per jar)
- fresh dill, 2-3 twigs per jar
Pickling Brine
- 12 cups (3,000 ml) water (cold or lukewarm)
- 2 cups (500ml) distilled white vinegar, (5% or 6% acidity)
- 2/3 cup (200g) fine salt
- 1/2 cup +1 tablespoon (115g) granulated sugar
- 5 bay leaves
Instructions
- Sterilize Jars: Wash all jars and lids with warm soapy water. Sterilize the lids fully submerged in water for 4-5 minutes after the water starts boiling; carefully paper towel pat dry lids. Preheat the oven to a 215°F and place jars upside down onto oven racks. Dry jars for 20 minutes or until completely dry.
- Make Pickling Brine: In a large pot, combine and stir: 12 cups water, 2 cups vinegar, 1/2 cup sugar, 2/3 cup salt and toss in 5 bay leaves. Bring to a boil, reduce heat to low and boil for 5 minutes. Remove from heat making sure salt and sugar are dissolved and let it rest 10 minutes, then discard the bay leaves.
- Fill Jars: Wash and cut off both ends of the cucumbers. Fill the bottom of each jar with couple twigs of fresh dill, garlic cloves and black peppercorns. Tightly pack jars with cucumbers. Slowly pour the pickling brine into jars over cucumbers, up to the rim (leaving 1/2-inch of space at the top), and cover with lids, but do not close. A 1/4 measuring cup works great for pouring pickling brine.
- Process the Jars: Line a kitchen towel or a microfiber towel at the bottom of the pot if not using rack. It is very important that the bottom of jars are not touching directly the pot or jars will crack when heated. Place packed jars into the canning pot and fill with warm water, about 2 inches below the top of the jars. Cover with lid, bring to a boil over medium-high heat, then reduce heat to low and process/boil jars for about 15 minutes or as soon as cucumbers turn light green.
- Seal the Jars: Carefully remove jars one by one from the water using jar lifter and tightly close lids (use kitchen towel or rubber oven mitt for best results). Flip the jars upside down and cover them with bath towels or blankets as soon as you flip them over (the more layers the better). Allow them to sit at room temperature undisturbed for 12 to 24 hours. You may hear a pop when the jars fully seal. Store pickles in a cool place.
Notes
- Cucumbers: The amount of cucumbers needed is based on whether you are canning whole cucumbers or sliced. Tightly packed jars will require less pickling brine, but the cucumbers will still marinate properly. You will end up with less or more than 8 (32oz) jars - it all depends on what size you cut the cucumbers and how tightly you pack the jars.
- Metric Measurements: water is 2,880ml and vinegar is 480ml. In ingredients above, we rounded to the nearest round number for easier measuring. Both metric amounts work, just follow one or the other.
- How to Test if Canning Seal Has Formed? When you push in the center of the lid, it should not pop up and down. If you're hearing popping or clicking, the seal did not form and the jar must be refrigerated. We never had it happen, but just in case, we want you to know what to do.
- Pickling Brine: You can make the brine a day ahead, cool to room temperature and refrigerate. Allow the brine to come to room temperature while you pack jars with cucumbers.
- Trim: Trimming cucumber ends is mandatory. The ends carry a ripening enzyme that promotes softening even after they’re pickled.
- Over-processing: If you keep cucumbers for too long in the water bath, they will become soft. They will continue cooking once out, underneath the blanket of towels.
- Storing Cucumbers: When canned properly and stored in a cool place, homemade pickles can keep for up to 1 year at room temperature. Once you break the seal, make sure to store them in the refrigerator for up to a month.
Sign Up for My Email List
Something sweet for your inbox! Join others and subscribe to my free email list. You’ll get every new recipe and post as they’re published, plus an email with my most popular tips and recipes.
Inger says:
When are the pickles ready to eat?
Olga in the Kitchen says:
Give them a week at least for best flavor.
Aluce says:
Hello, can I use pickle crisp in this recipe. If I can how much would I need.
Olga in the Kitchen says:
Hello! I have never used pickle crisp and without experimenting myself, I don’t know how it will affect the pickles.
Judy says:
The instructions say: “Place packed jars into the canning pot and fill with warm water, about 2 inches below jars.”
Does this mean fill the pot with water until it’s two inches below the top of the jars? I wasn’t quite sure, since I’ve never canned before.
Olga in the Kitchen says:
Correct! You don’t want the water to get into the cans when it starts boiling.
Melody says:
Can you cut your cucumbers and strips?
Olga in the Kitchen says:
You definitely can! You can cut into circles or strips, as long as they are not very thin strips or circles to prevent mushy results.
Mary says:
Is the sugar necessary or can I omit it? I’d prefer to not have my pickles at all sweet.
Olga in the Kitchen says:
Hi Mary! The sugar balances out the acidity in this recipe, but the pickles don’t taste sweet. I have not experimented it without sugar, but my guess the pickles will turn out even more sour. If that’s what you’re going for, you can definitely try it out.
Jesica says:
I tried once without sugar and they tasted horrid… like straight up vinegar
Olga in the Kitchen says:
Yes, the sugar balances out the vinegar/salt. If you want to do without sugar, best way would probably be to try another recipe. This recipe was created to include sugar, therefore, the amount of vinegar, salt, etc was all based on that.
Cheryl says:
Maybe I’m blind but I’m looking for an expected yield (how many jars).
I’m trying to plan and prep appropriately and it would be helpful to know how many jars I can expect to fill (I’m actually going to make a smaller batch to do as a sample so I need to plan). 🙂
Olga in the Kitchen says:
The serving size is shown in the recipe card, at the beginning where it shows the amount it takes to prep/cook. About 8 (32 oz jars), but you might get a jar less or more. It depends how tightly you pack the cucumbers.
Kristyn says:
As a first time canner, this statement “water should be 2 inches below jar” should have said “jar should be two inches below water” because I didn’t fully submerge my jars 😭
Olga in the Kitchen says:
Hi Kristyn! The recipe is correct, ‘water should be 2 inches BELOW jar”. You cannot fully submerge the jars into the water because the water will get into the jar, get mixed in with the brine and it will be one big mess in the pot. Maybe different recipes or different methods ask you do fully close the jars with lids and submerge the jars fully into the water. However, our recipe (our method), we place the lids with rings on top of the jar, but you don’t close it. It’s as if you put a lid on the pot, to keep the heat in. This will help the cucumbers turn color faster, from bottom to up. Then you fill with water 2 inches below those jars with pickles. When water starts bubbling, the bubbles will be large. The 2 inches works best to make sure the water doesn’t get into the jar with pickles when bubbling. Hope this helps!
DOROTHY J CHISM says:
how soon can you eat the pickles?
Olga in the Kitchen says:
I would give it a week, so that the cucumbers absorb all the flavors.
Kimberly Edwards says:
This recipe looks amazing and I am so excited to try it. Thank you so much for sharing your amazing recipes.
My question is: Have you ever tried cutting this recipe in half?
Olga in the Kitchen says:
I usually double or triple the recipe instead 🙂 You can try cutting in half if you’re like, but the serving is kind of small already.
Tara says:
Hi there! I made a half batch of these pickles yesterday to test out the recipe in preparation for pickling cucumbers from my garden this summer, and im really impatient to try them! How long would you reccomend letting them sit before I open the first jar? (It’s been almost 24 hours). Not sure if I should leave them for a few days. Thanks so much!
Olga in the Kitchen says:
I usually give them a week, to make sure the cucumbers really absorb the flavors.