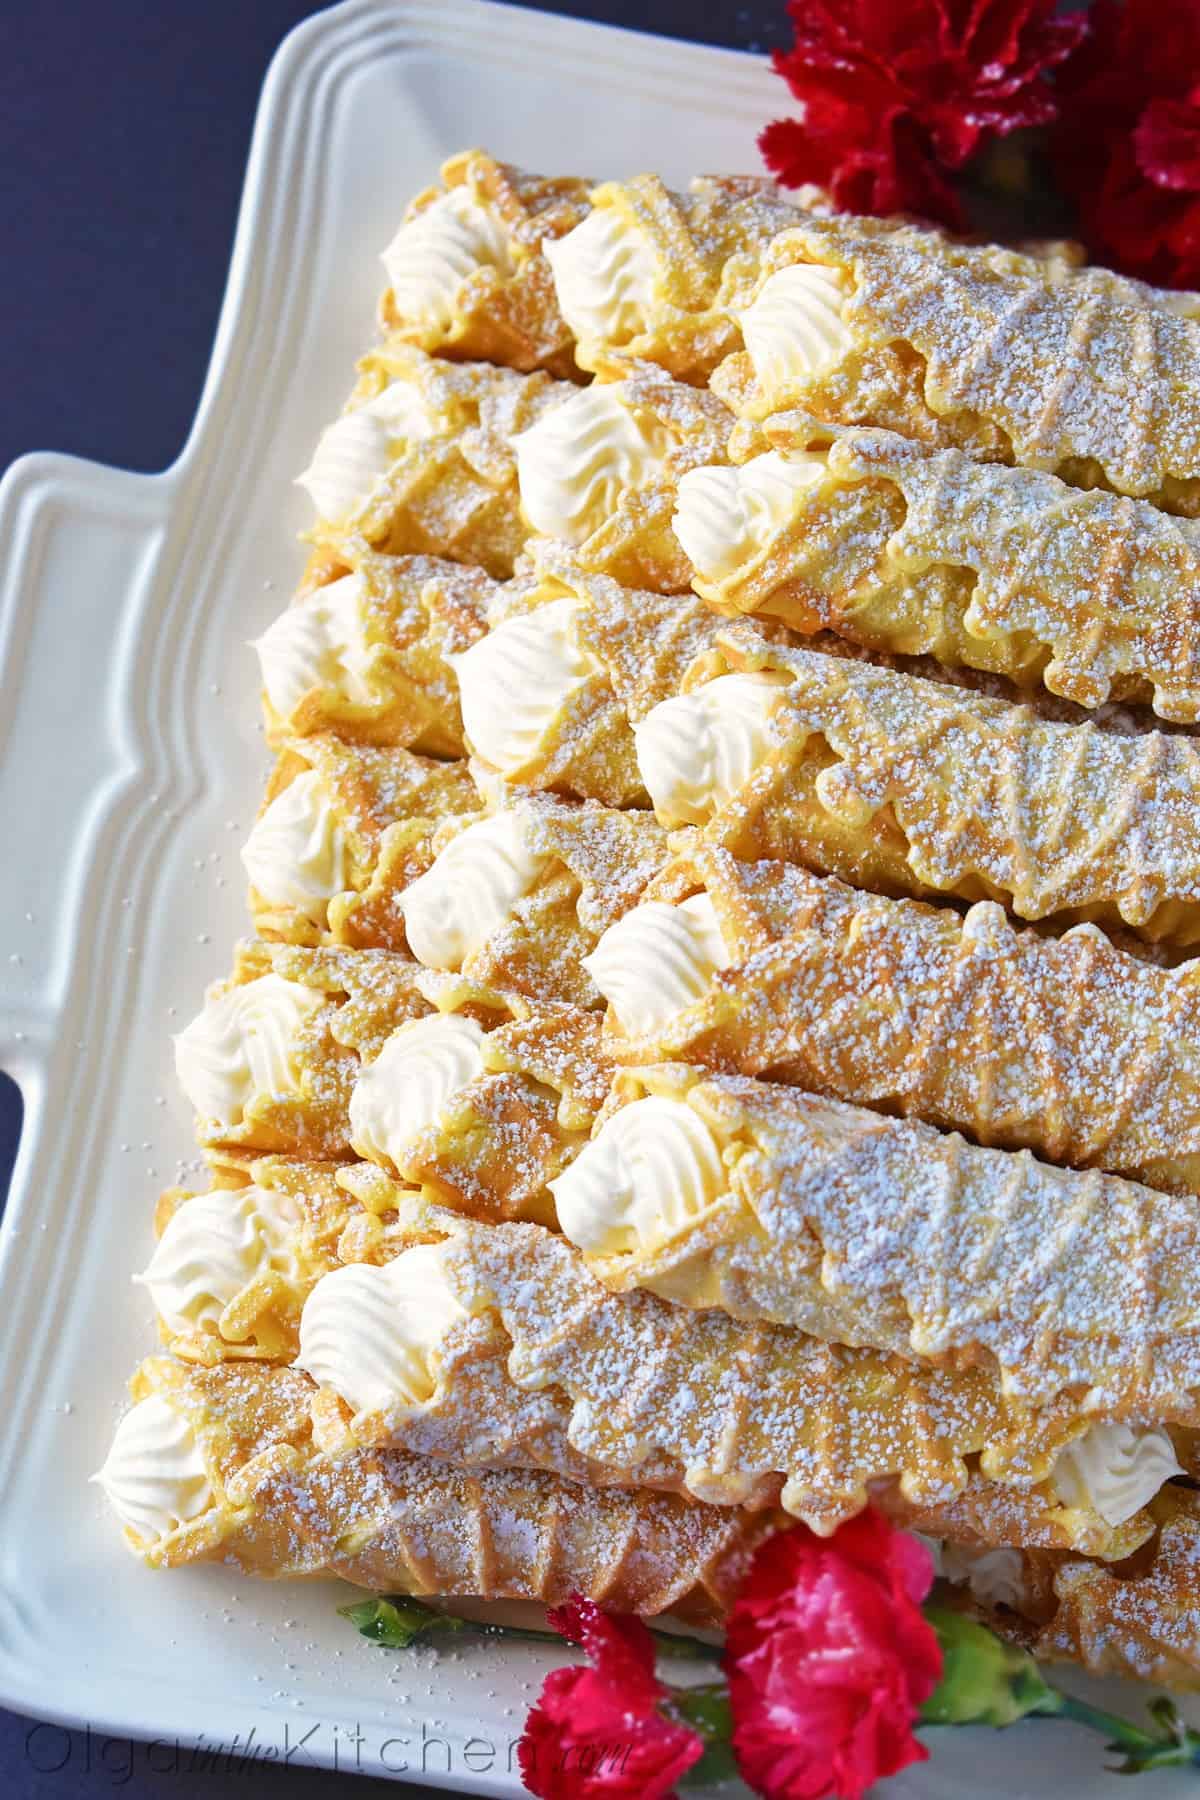
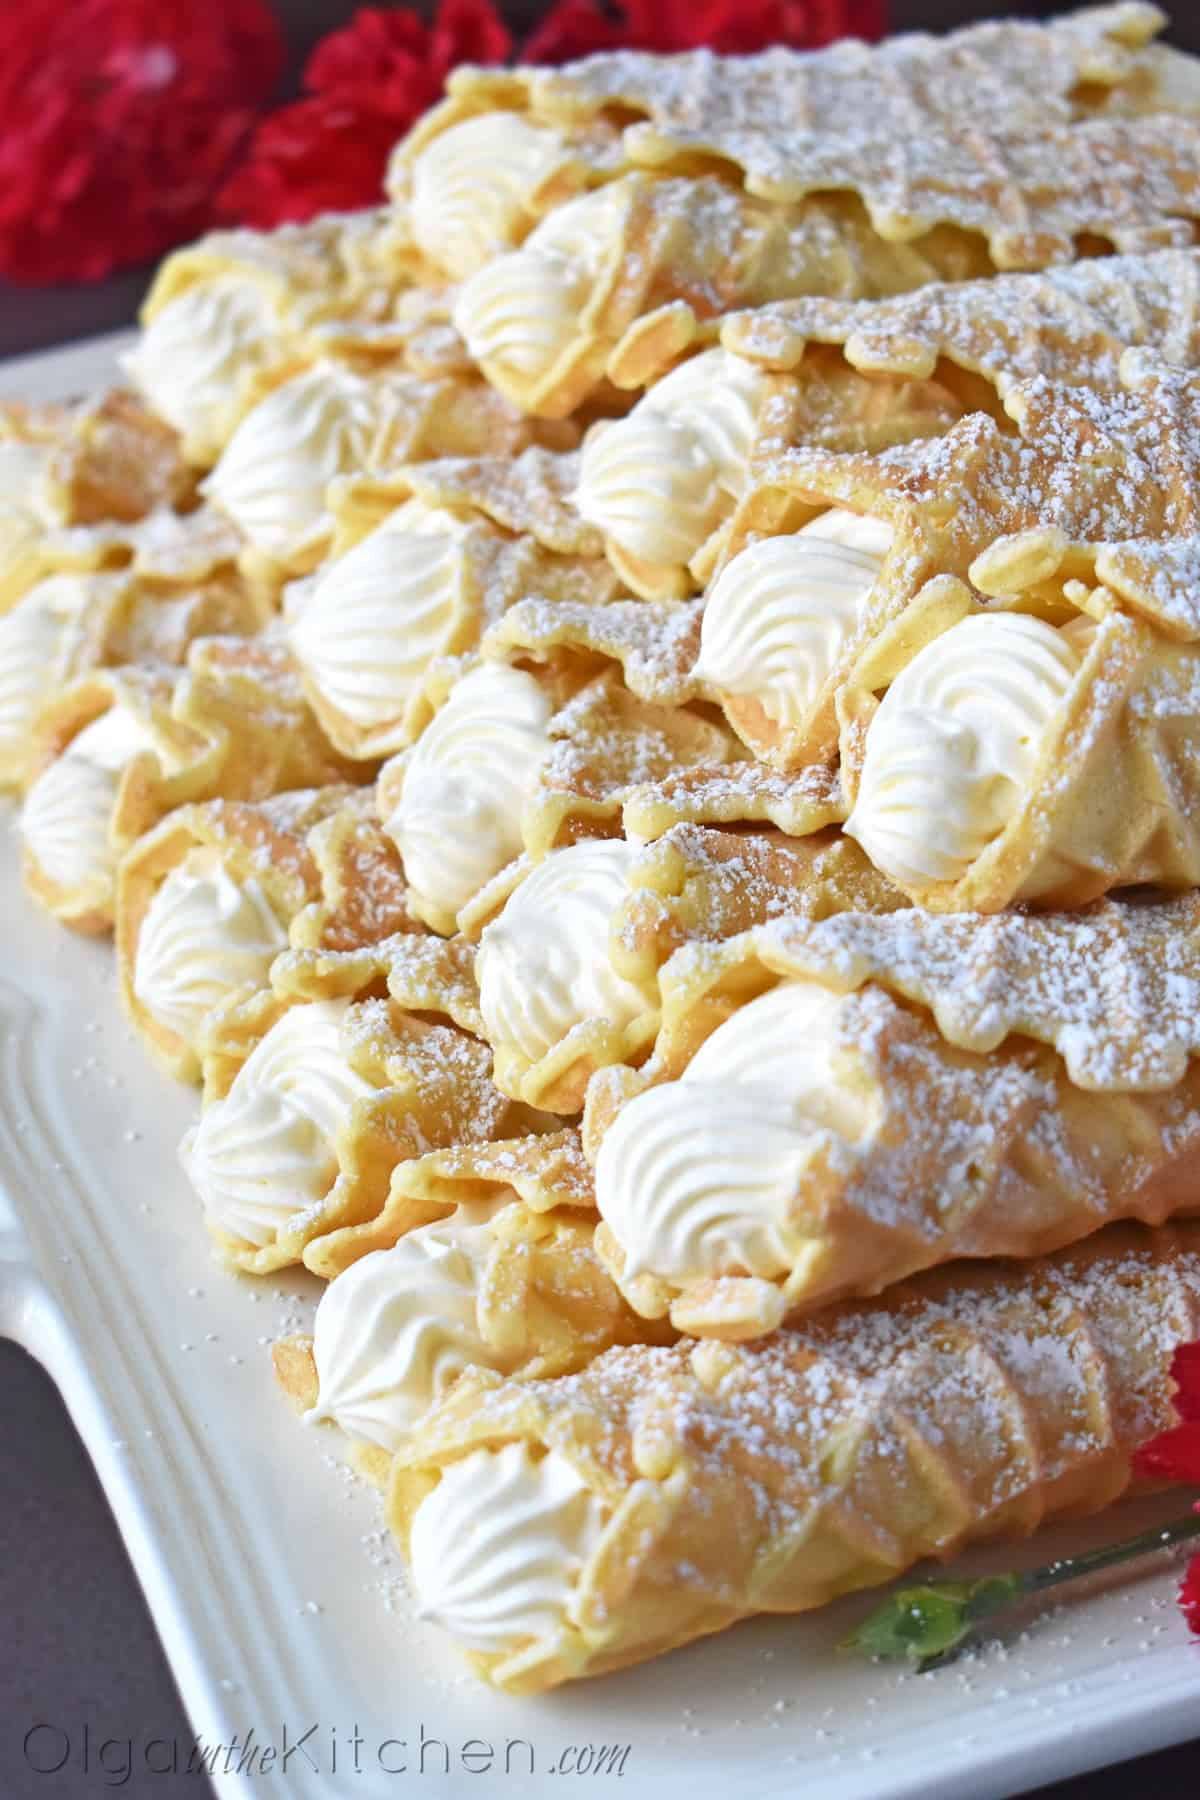
Cream Filled Pizzelles (Trubochki)
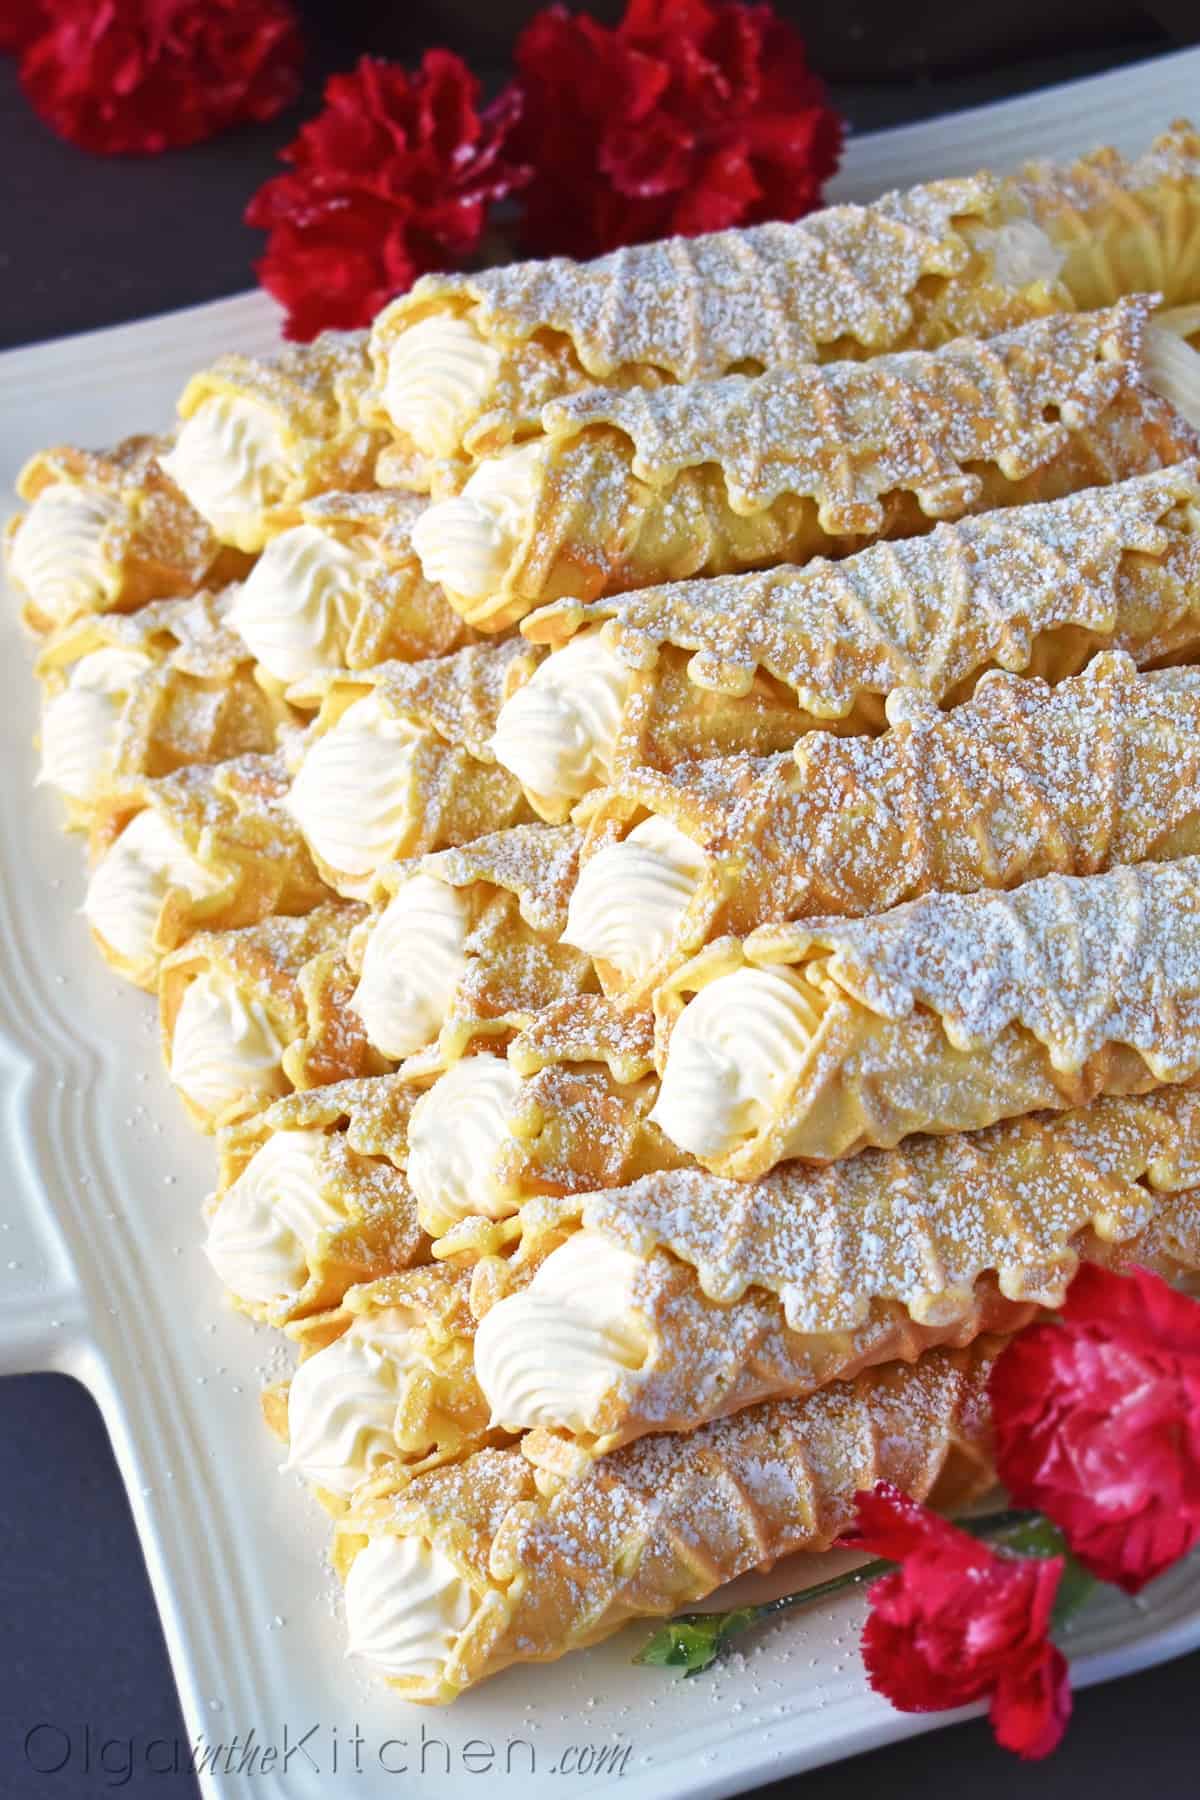
Cream Filled Pizzelles (trubochki): creamy, elegant and beautifully shaped waffle-like pastry filled with the best condensed milk filling. These are very popular during holidays, weddings and all kinds of special occasions. Follow this easy step-by-step tutorial and they will become a staple in your home!
This post may contain affiliate links. Read my disclosure policy.
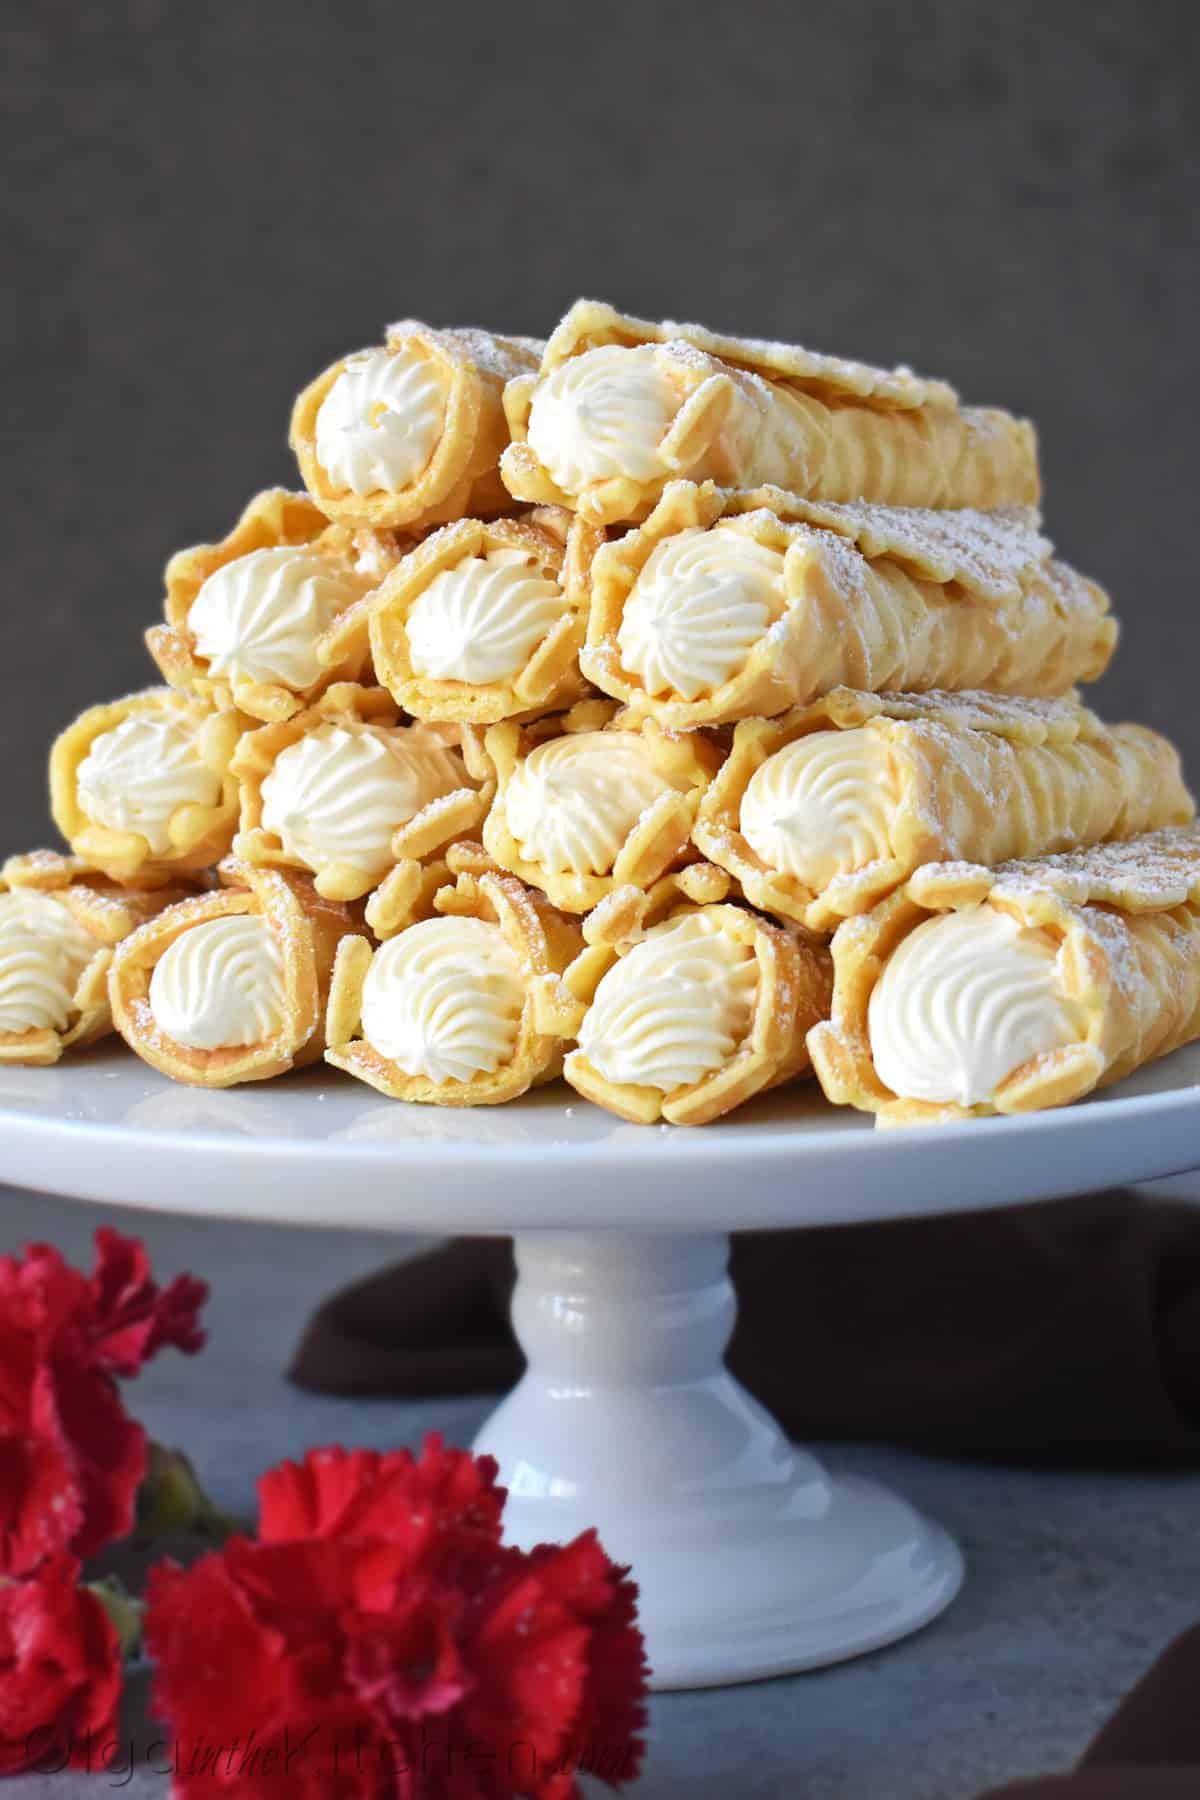
Pizzelles are an Italian dessert, but we have converted it into one of our own based on the puff pastry (cream horns) trubochki that all Ukrainians make and love. We roll them into tubes, fill them with delicious filling and sprinkle with powdered sugar for an elegant touch. In fact, we usually call these ‘waffle tubes’. They are very popular during major holidays, weddings and different events.
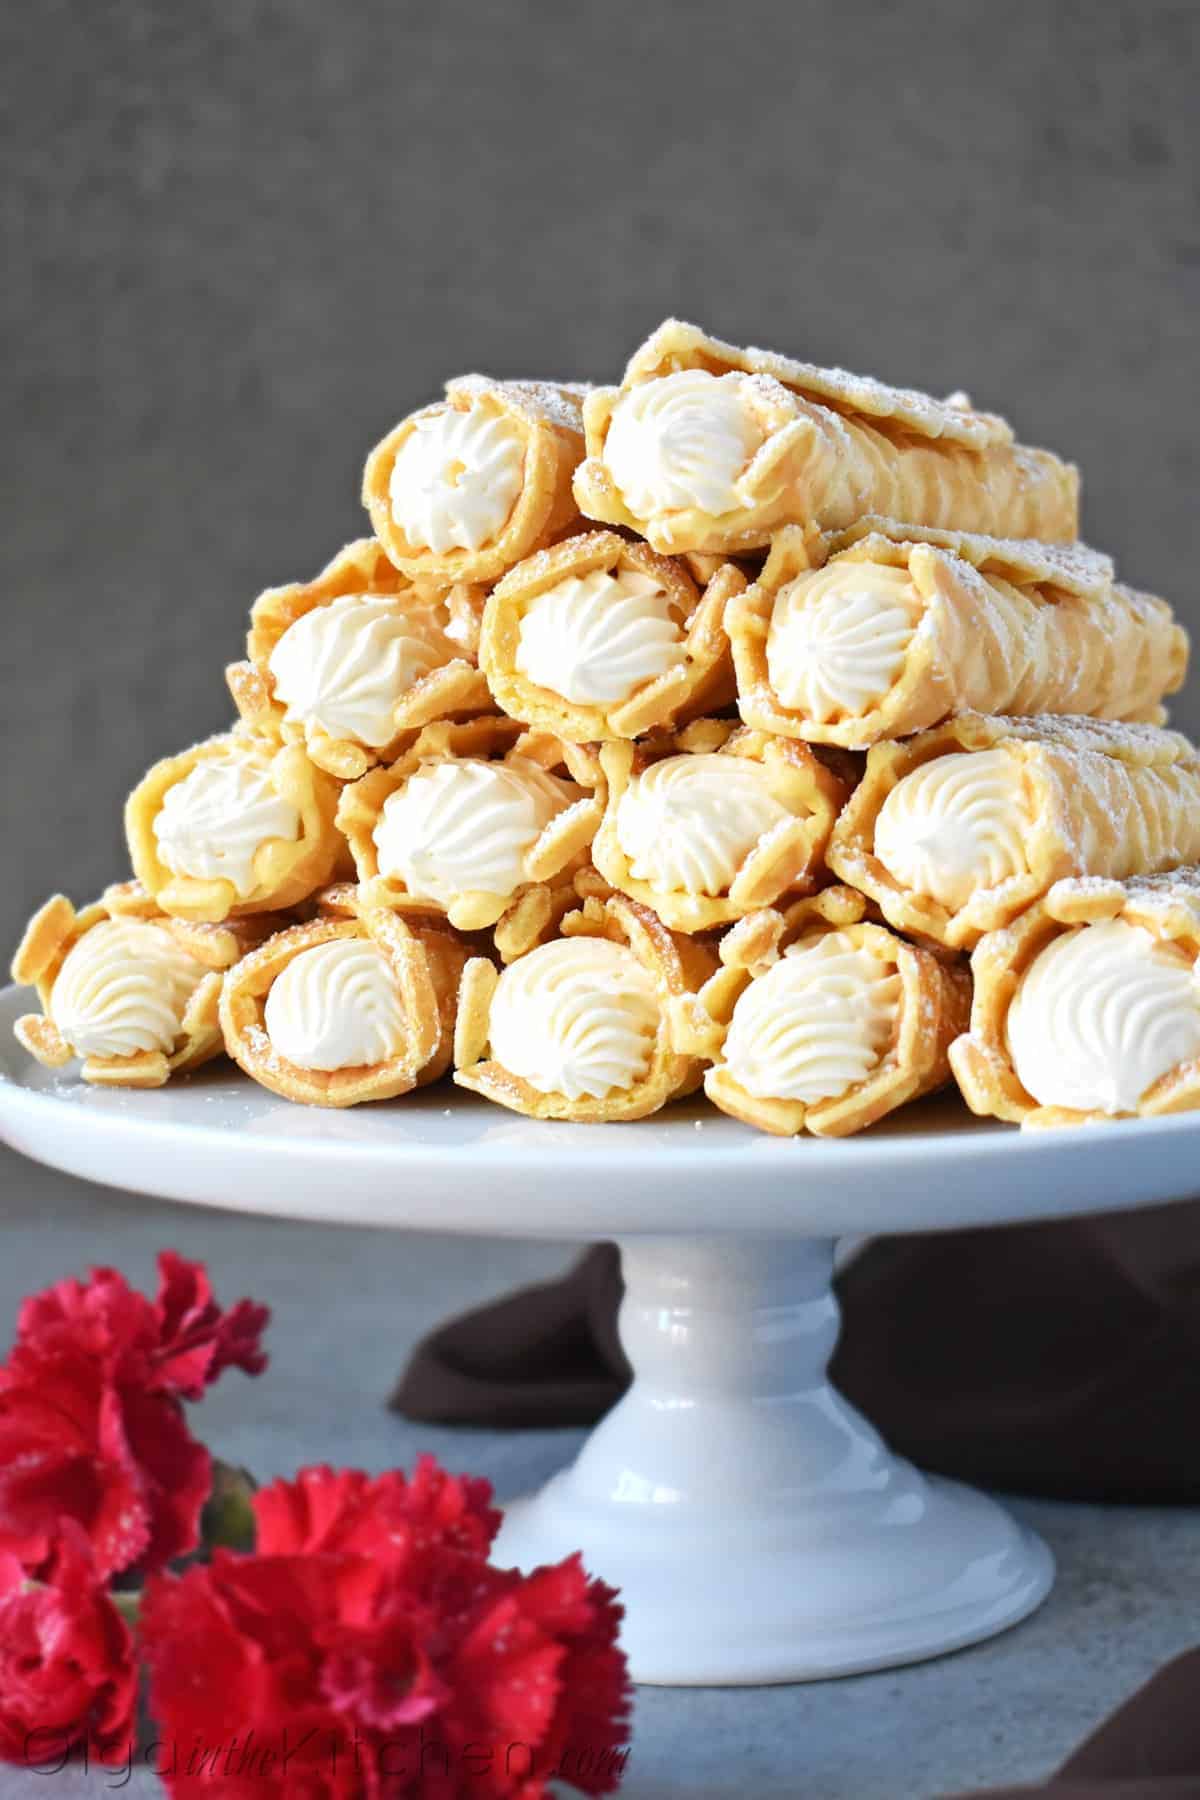
The Cream Filled Pizzelles kind of remind me of cannoli, except those are usually filled with ricotta cheese and fried in oil, while this dessert is made on electric appliance and filled with creamy filling.
I’ve been making these way before I was married, since 2010 or somewhere around that time. I don’t know what is it about them that makes people enjoy them so much. Before I got married and even now, every time there’s a church gathering or a family party, I would always be asked to make these. One request though: ‘lots and lots of cream’ – from one end of the pizzelle to another.
Every time I make these, my kids always eat plenty without filling and then more while filling with cream. If you find yourself enjoying these without cream, don’t be surprised. It happens all the time! 🙂
This recipe calls for a batter-like dough and is baked using a pizzelle maker. I’ve been using this exact Chef’sChoice 834 PizzellePro Maker ever since.
They used to be rarely on sale for around $60 back then, but now you could get this exact for $40 or maybe even lower. As new appliances become available on the market, the older lose value. (great for us, right?)
How to Avoid Soggy Pizzelles?
One of the questions that I get asked a lot is how to make pizzelles crispy and not soggy. The first step would be to bake them properly. It depends on the pizzelle iron, it can take from 20 seconds to a minute to reach the dark golden color.
You do not want to bake them for too long or they will crack when you roll. Also, using melted unsalted butter instead of oil in the batter ingredient list will make them not as soft. Oil tends to keep baked goods more on the softer side.
When you make the pizzelles, single-layer them on a baking sheet or tray and do not cover with plastic food wrap. I place a napkin or a paper towel on top to avoid lint from falling onto them. Leave them for 4-5 hours at room temperature to dry completely. Sometimes it might take less.
To fasten the process of drying the pizzelles or if yours turned out a bit on the soggy side, single-layer them on a baking sheet. Dry in a preheated oven at 170 degrees Fahrenheit for 1 hour.
I would fill these the night before an event and they are just perfect next day. Not too hard and not soggy, but just in between as most people prefer them less crispy.
If you want the pizzelles to stay crispy until serving, I would suggest filling them just before serving. Like all cakes, when you fill these ahead of time, especially with heavy cream filling, they will become moist and soggy over time.
When these become crispy, you can enjoy them as a cookie for a month, with no filling. That said, you can bake these ahead of time and fill with cream whenever you need to. It’s one of those recipes that are so perfect for events when you’re trying to make as much dishes ahead of time as possible.
Secrets to Perfect Cream for Pizzelles:
I have always used the same filling to cream these pizzelles. The touch of condensed milk goes a long way with these. When you make the cream, it’s important to use refrigerated ingredients, such as cream cheese and condensed milk and keep the cool whip frozen just until ready to use.
Years ago I used to make them sweeter and added whole can of sweetened condensed milk to the cream, but as years passed by, I kept decreasing the amount of condensed milk, making this dessert less sweet. Most people prefer less sweet, so these are not loaded with sugar.
Follow the instructions in the recipe below to avoid over-beating the cream. It should be smooth and thick, not runny in any case. If for some reason the cream turns our runny, try refrigerating for 30-60 minutes; it should do the trick.
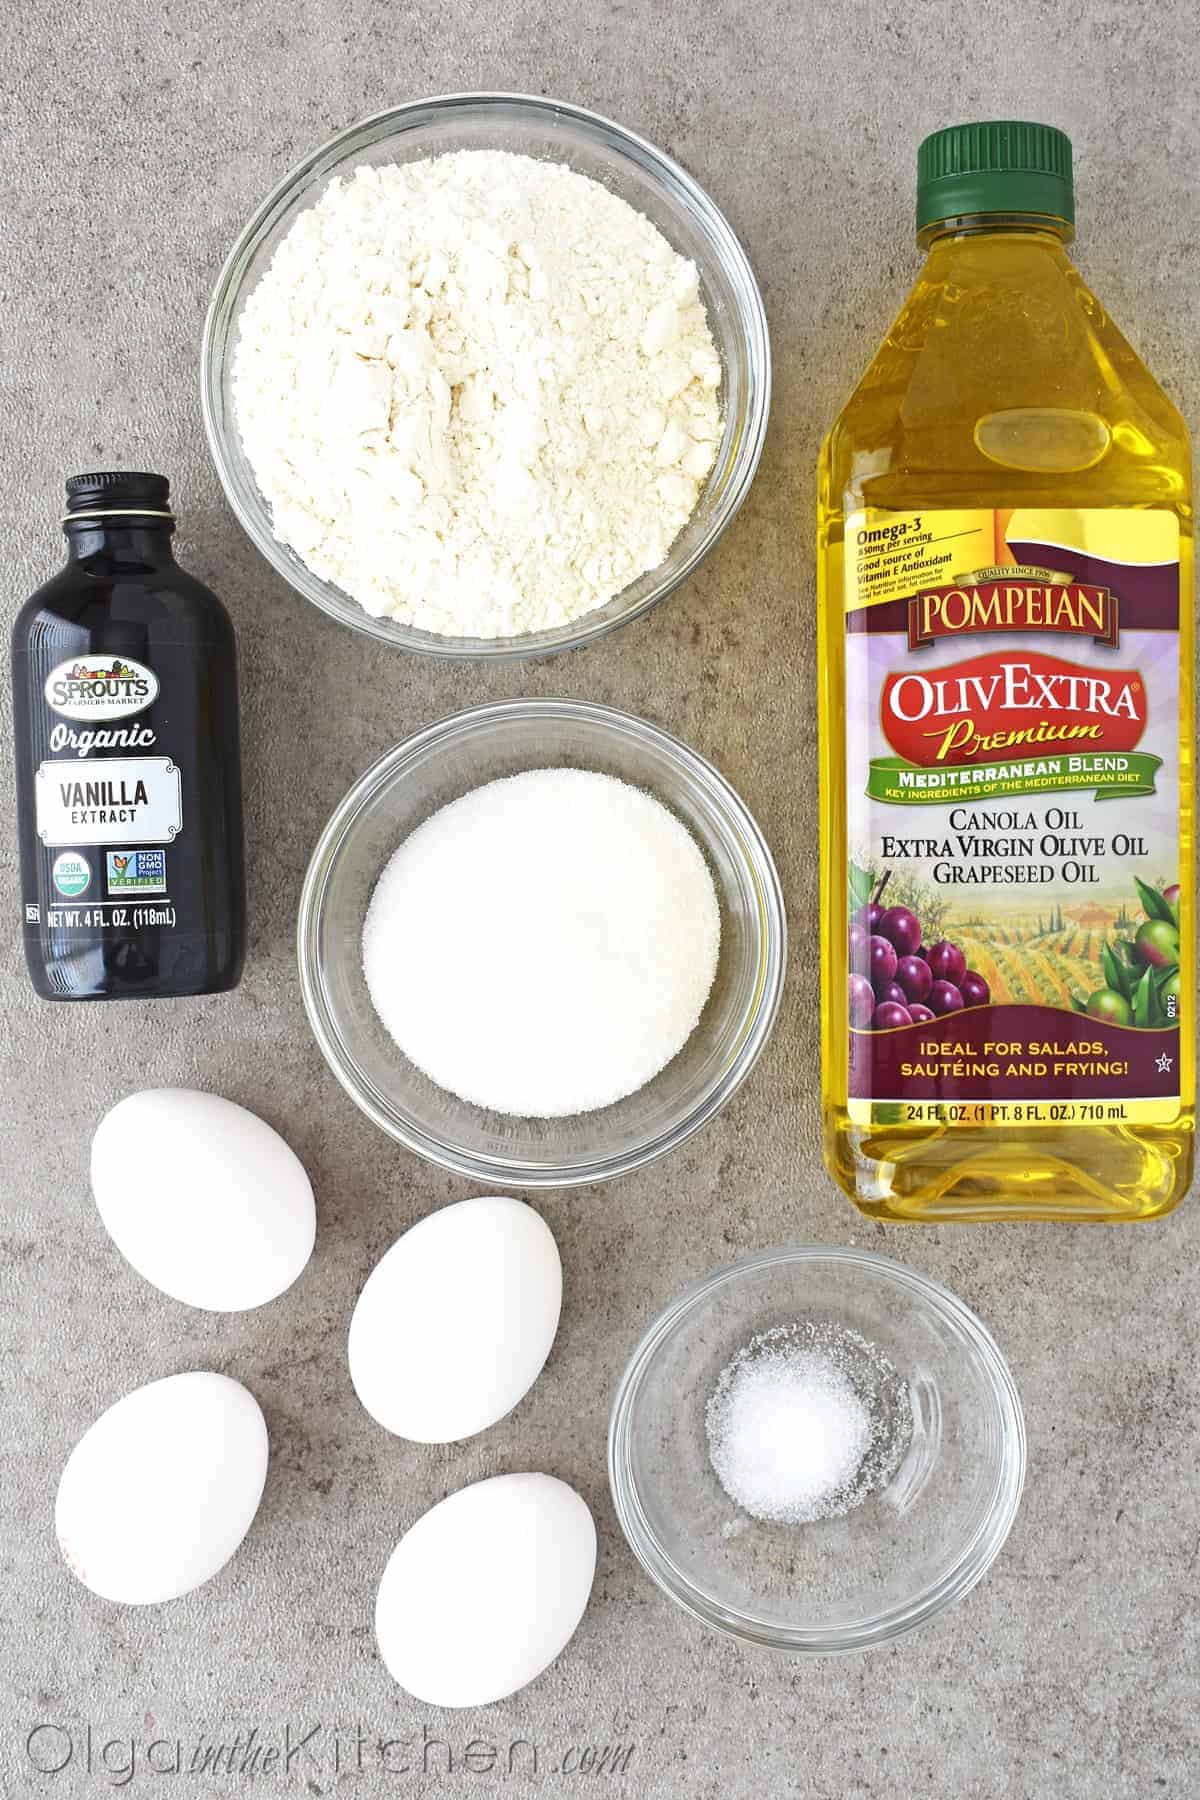
Pizzelles Batter Ingredients:
- Large eggs – room temperature
- Granulated sugar
- Fine salt
- Grapeseed oil (canola or vegetable works too) OR melted unsalted butter for crispier results
- All-purpose flour – sifted
- Vanilla extract
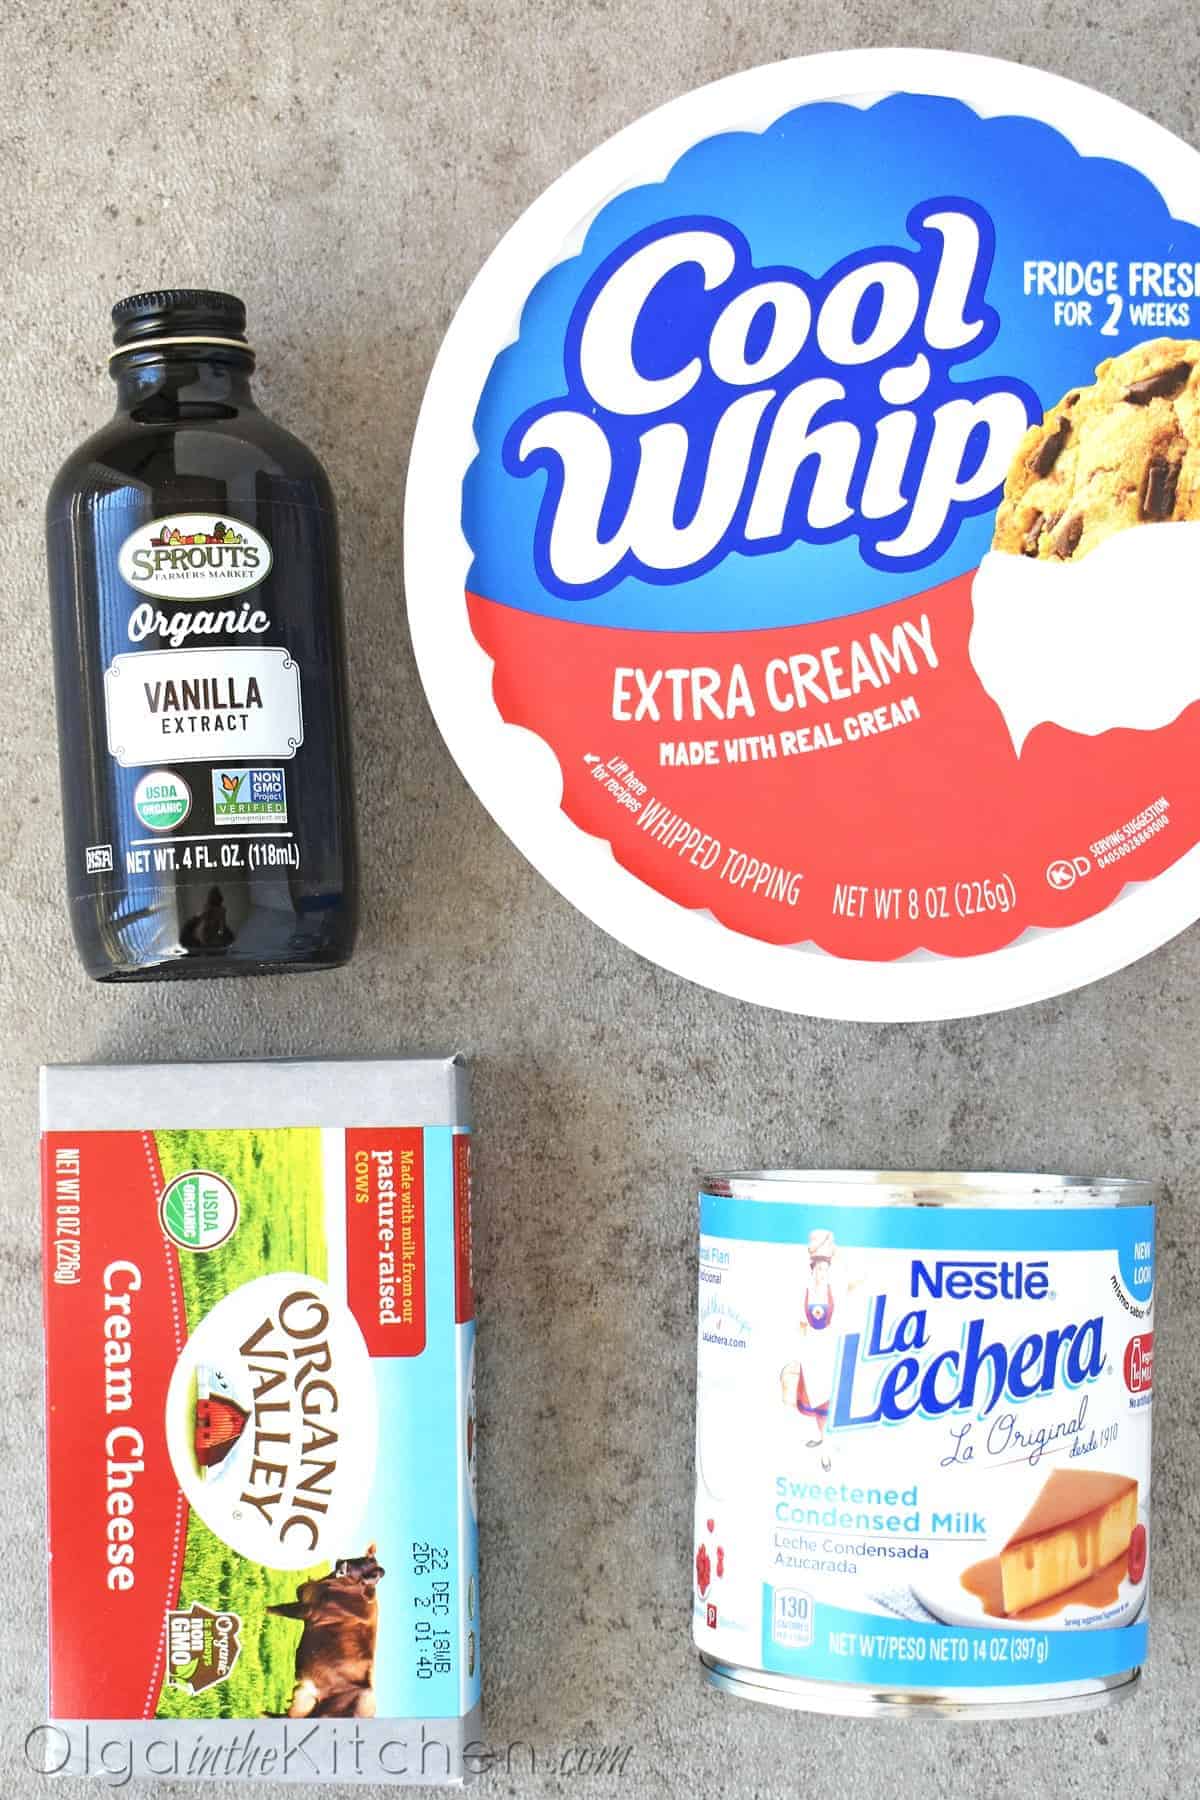
Pizzelles Filling Ingredients:
- Cream cheese – refrigerated
- Sweetened condensed milk – refrigerated
- Cool whip (whipped topping) – frozen (preferably extra creamy) – can be substituted for heavy cream
- Vanilla extract
- Powdered sugar for dusting – optional
How to Make Pizzelles:
Scroll down for the printable Cream Filled Pizzelles recipe.
- Preheat the pizzelle maker.
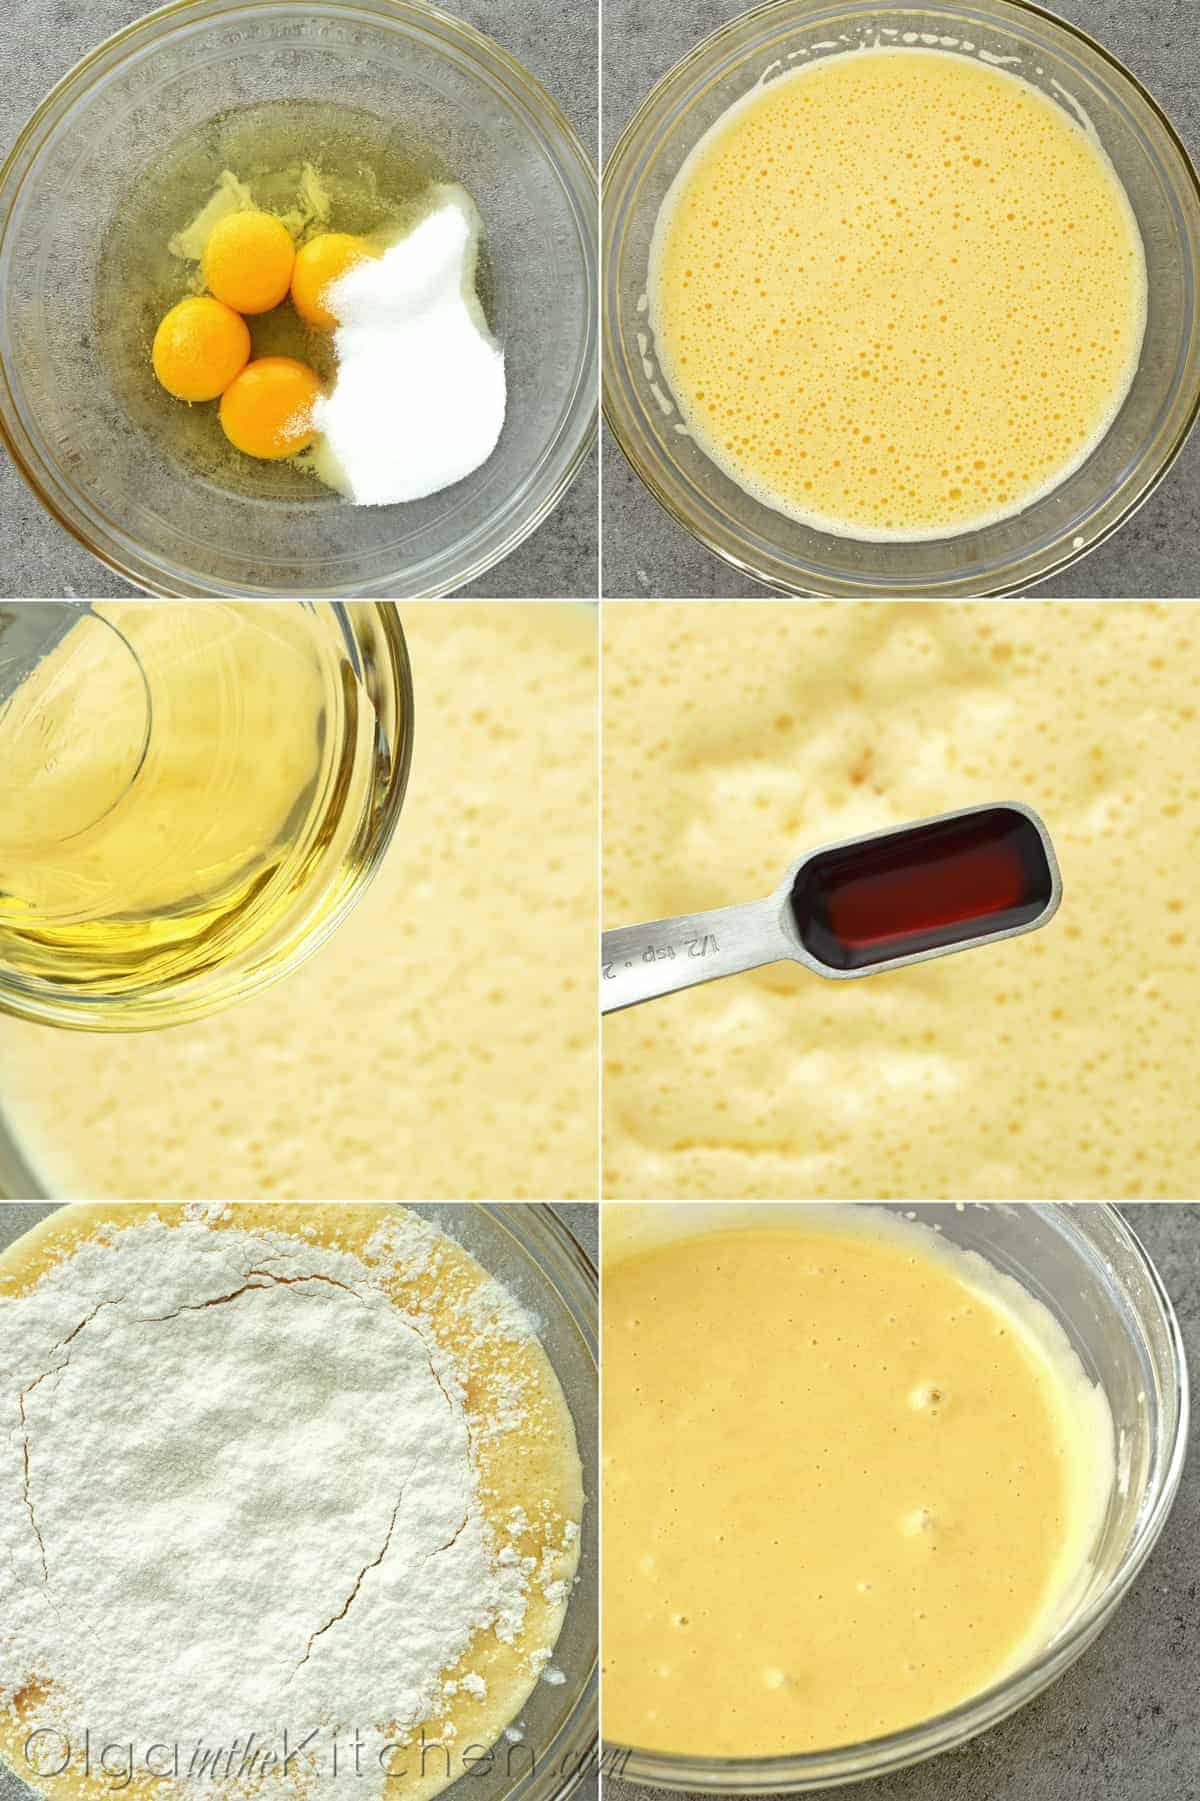
- Beat to combine eggs, sugar and salt.
- Add oil, vanilla and all-purpose flour.
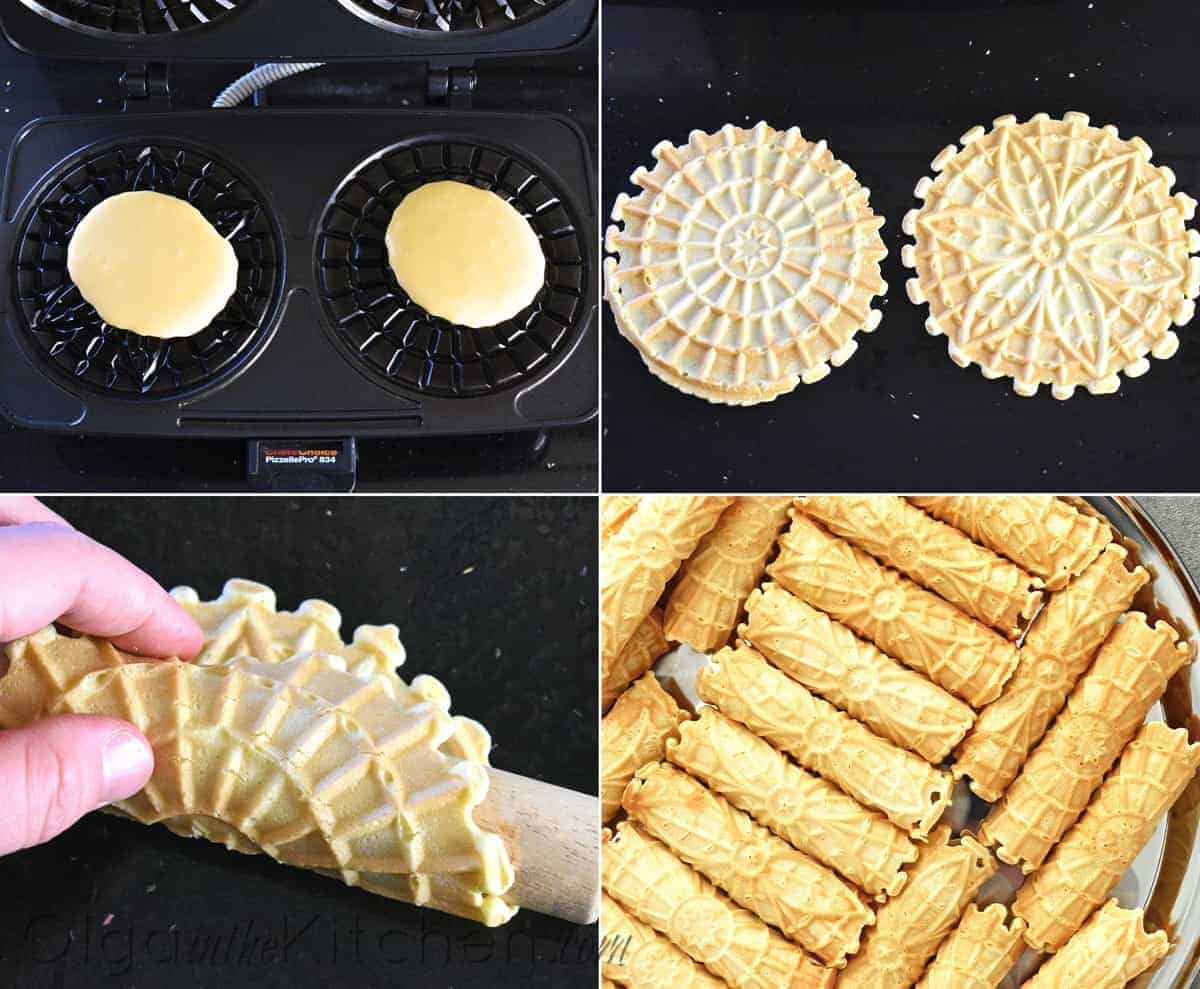
- Spoon batter onto pizzelle maker and bake.
- Quickly roll each pizzelle right away and single-layer on a baking sheet or tray.
 How to Make Cream for Pizzelles and Fill:
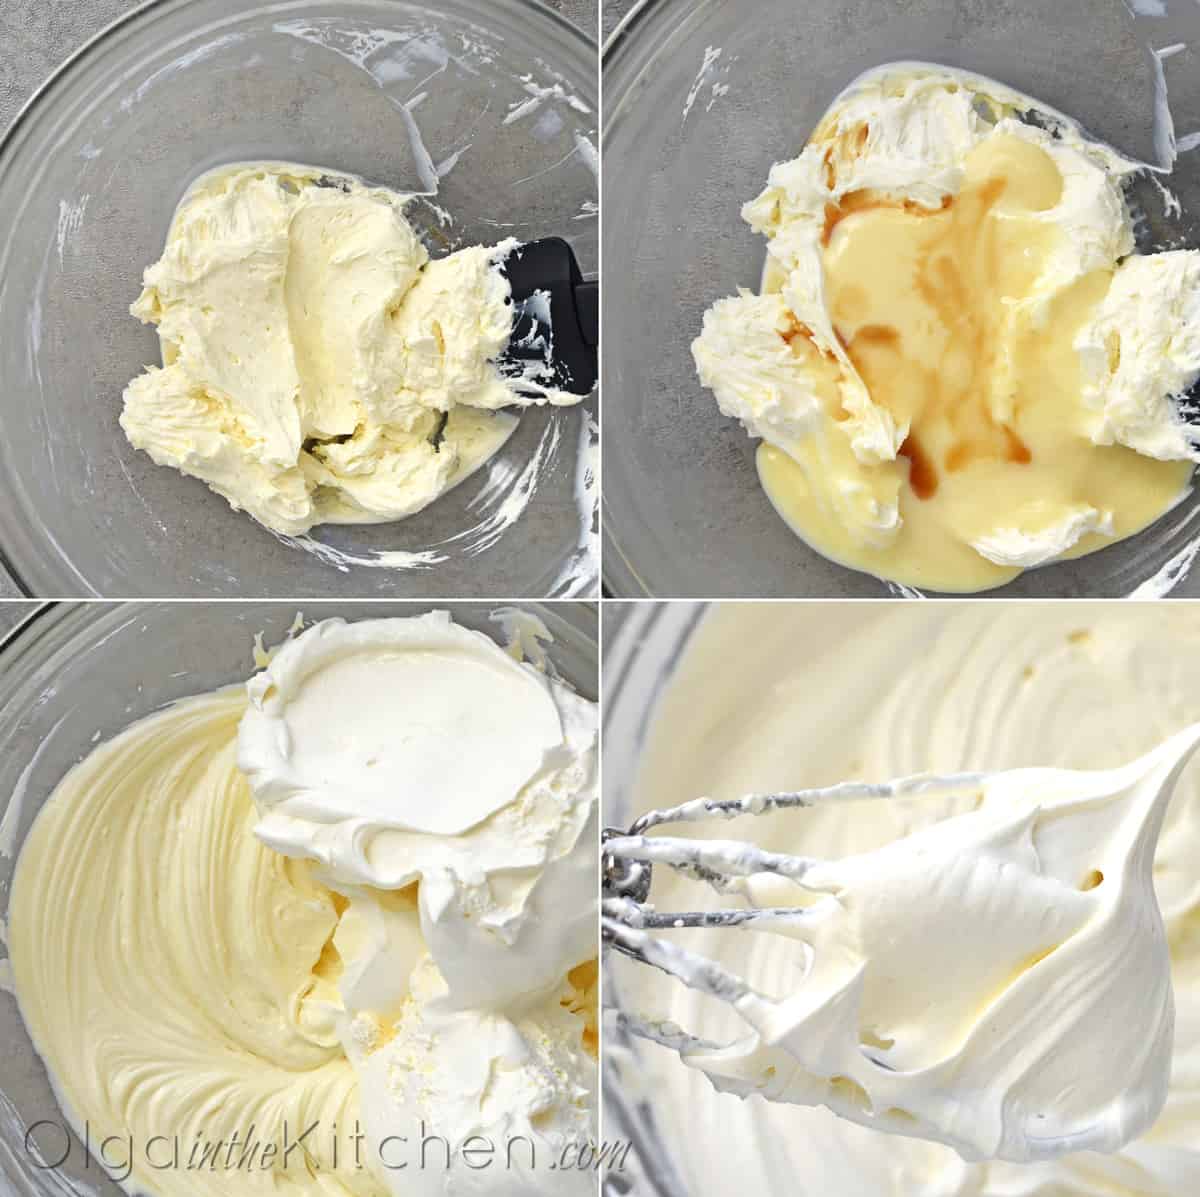
- Beat refrigerated cream cheese until smooth.
- Add in refrigerated condensed milk and vanilla extract and beat to combine.
- Add frozen cool whip (or heavy cream) and beat until cream is smooth and thick.
- Fill a piping bag with attached piping tip and pipe each pizzelle fully, from both sides.
- Dust with powdered sugar for an elegant touch and refrigerate until ready to serve.
Must-Try Ukrainian Dessert Recipes:
- Chocolate Spartak Cake – family favorite chocolate cake
- Honey Cake Roll with Condensed Milk Frosting – easy dessert, done in under an hour
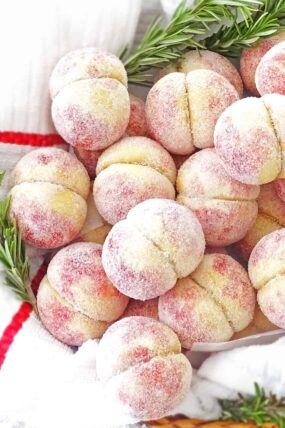
- Peach Pastries with Dulce de Leche Filling (persiki/персики) – no mold required, always such crowd-pleaser
- Ptichye Moloko (Bird’s Milk) – the best jell-o dessert you will ever have, done in 30 minutes
- Ukrainian Dulce de Leche Waffle Cake – so easy, the ‘must’ dessert at every event
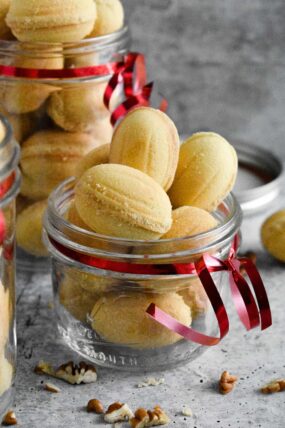
- Walnut Shaped Cookies with Dulce De Leche Filling (oreshki) – every Slavic family makes these
Cream Filled Pizzelles (Trubochki)
Ingredients
Batter Ingredients:
- 4 large eggs - room temperature
- 1/4 cup granulated sugar
- 1/4 teaspoon fine salt
- 2 tablespoons grapeseed oil , (vegetable ok too - use melted cooled butter for crispier results)
- 1/2 teaspoon vanilla extract
- 1 cup all-purpose flour , - sifted
Filling Ingredients:
- 8 oz cream cheese - refrigerated
- 1/3 cup sweetened condensed milk, - refrigerated
- 8 oz cool whip , - frozen (preferably extra creamy, not original)
- 1/4 teaspoon vanilla extract
- 1 tablespoon powdered sugar , for dusting – optional
Instructions
- Preheat pizzelle maker while you make the batter. In a medium bowl, with an electric mixer, beat 4 eggs, 1/4 cup granulated sugar and 1/4 tsp salt on high speed until eggs are lightened in color and sugar is dissolved (about 2 minutes).
- Add the rest ingredients: 2 tbsp oil, 1/2 tsp vanilla extract and 1 cup sifted all-purpose flour. Beat everything together until flour is all mixed in, on low for about 1 min.
- With help of 1 tbsp measuring spoon, spoon batter onto each pizzelle design, close the lid, bake for 18-20 seconds or until dark golden (I count slowly to 18) and quickly but gently take baked pizzelles off using disposable fork. Different pizzelle makers might take as long as 60 seconds to bake each pizzelle. Working quickly, wrap the hot pizzelles around the wooden stick that comes with pizzelle maker. (You have to work fast, otherwise the pizzelles will cool and break when you try to make cylinder shape). Repeat with remaining batter. Single-layer on a baking sheet or tray to cool and dry. (Do not stack these in more than 1 layer while drying. They will become soggy and get squeezed, losing the round shape).
- To make the filling: In a medium bowl, with an electric mixer, beat 8 oz cream cheese on high speed (about 1 min). Add in 1/3 cup sweetened condensed milk and 1/4 tsp vanilla extract and beat for 1 minute. Lastly, add 8 oz frozen cool whip and continue beating until filling becomes thick and smooth (2-3 minutes on high). Fill a piping bag with cream and fully pipe each pizzelle (both ends). For final touch, dust with 1 tbsp powdered sugar. Refrigerate until ready to serve.
Notes
- Avoid soggy pizzelles: Use melted unsalted butter instead of oil in batter ingredients to make them not as soft. (Oil tends to keep baked goods more on the softer side). Single-layer baked pizzelles and cover on top (to protect from lint) with paper towel or napkin until pizzelles are dry (4-5 hrs). These can be baked ahead of time and filled days later. *If you want the pizzelles to stay crispy until serving, I would suggest filling them just before serving. Like all cakes, when you fill these ahead of time, especially with heavy cream filling, they will become moist and soggy over time.
- To fasten the process of drying the pizzelles or if yours turned out a bit on the soggy side, single-layer them on a baking sheet. Dry in a preheated oven at 170 degrees Fahrenheit for 1 hour.
- Keep in mind that the longer (darker) you bake pizzelles, the more likely they will crack when you roll.
- If filling turned out a bit runny: Use refrigerated ingredients when making the filling. If for some reason the cream turns out runny, refrigerate for 30-60 minutes; it should do the trick.*do not place filling into freezer!
- If batter turns out a bit on thicker side (depends on flour moisture and brand), you can add a bit of extra oil or butter.
- HEAVY CREAM FILLING (refrigerated ingredients): 8 oz cream cheese, 1/2 cup powdered sugar, 1/4 cup sweetened condensed milk, 1/2 tsp vanilla extract and 1 cup cold heavy whipping cream. (Beat cream cheese and powdered sugar on high for 1-2 mins. Add condensed milk and vanilla. Beat 30 seconds on low. Add heavy whipping cream and beat 30 seconds low, then 1 1/2 mins high. Cream will be thick and fluffy).
Sign Up for My Email List
Something sweet for your inbox! Join others and subscribe to my free email list. You’ll get every new recipe and post as they’re published, plus an email with my most popular tips and recipes.

jenni craig says:
This recipe turns out perfect every time. My nine year old loves to make it very often. It’s one of our family favorite desserts.
Kim Cherman says:
Light, crispy and so tasty! Easy to make in a short time. A favorite of our family and they turned out perfect! My go-to recipe!
Paul Tarasi says:
Hi Olga. This is a great recipe! However, I am having a problem keeping the pizzelle to stay rolled with the ends sticking together to form the cylinder. I followed the recipe exactly. Can you suggest a way to keep the pizzelles rolled? I had an idea to mix a solution of warm water with powdered sugar, then use a small brush to brush the ends of the pizzelle when I roll them so the ends will stick together. Do you think this would help? Or is there something else to correct this? Thank you. Paul
Olga in the Kitchen says:
Hi Paul! When you roll the hot pizzeles into cylinder, place them the closure side down. When I bake them, I arrange them on a baking sheet and I like to put something by the last pizzelle to keep it from rolling open. They dry really fast so by the time you bake the next pizzelle, the previous will already be cold and set so it will not unroll.
Mari says:
Hi Olga, I’m curious if you make the filling with a hand mixer or stand mixer. I followed the recipe exactly but I have watery, runny filling. I used a powerful stand mixer and I wonder if it was too strong on high and deflated the cool whip.
Olga in the Kitchen says:
I usually use a hand mixer as I use a hand mixer for maybe 90% of the time. Make sure that all the ingredients are cold from refrigerator (the cream cheese and especially the condensed milk). Most of the time I make the frosting with frozen cool whip which usually takes 5-6 mins of beating on high after you added it to cream cheese/condensed milk to make the frosting thick. Or you can use slightly thawed cool whip and it takes 2-3 mins before the cream becomes thick. I don’t think it’s possible to deflate the cool whip (at least not under 10 mins) because it has never happened to me before and I use cool whip for my sour cream frosting all the time which takes 10 mins of high beating. Hope this helps 🙂
Kathy Lea says:
Looks wonderful! Haven’t made yet was going out of town for Thanksgiving and wondered if I could make the shells on Saturday or Sunday then fill on Wednesday night or Thursday morning and if so how best to store shells till filling. Thank you for a wonderful recipe! Kathy Lea
Olga in the Kitchen says:
Hi Kathy! You can make the shells weeks in advance and frost closer to event. I usually like to dry them completely in the oven (see notes section on the recipe page), keep them on baking sheet and cover with paper towel until I’m ready to frost.
Rosanne says:
I have read instructions several times….
When using whipping cream, should it be whipped before adding to the cream cheese?
Thanx
Olga in the Kitchen says:
Everything is added into the same bowl, nothing is beaten separately. You just have to follow the order like the instruction say and beat for approximate time provided. Hope this helps! 🙂
Georgi Discenza says:
I love pizzelles and I can’t wait to try this recipe but have you ever tried a chocolate filling?
Olga in the Kitchen says:
I’ve never tried a chocolate filling, but I don’t see why it wouldn’t work. I did make these with condensed milk filling, with dulce de leche filling, with sour cream filling, heavy cream/cream cheese. Any filling that holds the shape works.
Marissa Mayduk says:
Fantastic recipe! Followed every detail in the recipe, made 3 batches and each was a success from start to end. My family were humming over these with every bite at our Christmas family dinner. The condensed milk filling was extra delicious. I will be making these again for New Year’s!
Olga in the Kitchen says:
Thank you for the wonderful review, Marissa! I’m so happy to hear you and your family enjoyed this recipe! 🙂
Katerina says:
Super fantastic recipe! The pizzelles are so easy to make, took me 20-25 mins to bake and the cream is so delicious. I used cool whip version since we like the flavor of it and we used frozen, without thawing. Last time I didn’t beat the cream long enough when added cool whip and the filling was a bit on runny side. This time, I beat a bit longer and it was very thick. Thank you for your hard work and delicious recipes, Olga! Merry Christmas to You and Your Family!
Olga in the Kitchen says:
Thank you for sharing that with us, Katerina! I’m so happy to hear you enjoyed this recipe! 🙂
Anna says:
Olga, thank you for a great recipe. I made this recipe twice. First time I used frozen whip cream streight out of the freezer and the filling came out runny. The second time I let the whip cream defreeze in the fridge over night and then I added all the other ingredients and the filling came out perfect. I hope this comment helps all these poeple who had problems with the filling being too runny.
Olga in the Kitchen says:
Thank you for sharing that with us, Anna! I personally always use frozen cool whip (for 10+ years 🙂 ) and filling turns out very thick, but one of my sisters mentioned recently that her mixer with thin beaters does not want to beat the cream properly. When she switched to another mixer, the filling turned out extra thick. I also know this from personal experience, but hopefully your comment will help others. I certainly don’t want anyone buying new mixer because of the cream 🙂